How to Draw a 3D House: Easy Step-by-Step Guide
Have you ever wanted to make your drawings pop right off the page? Learning how to draw a 3D house is the perfect way to master basic perspective and bring your artwork to life! In this easy drawing tutorial, we will guide you through every single step to transform flat shapes into a realistic, three-dimensional home. Grab your favorite pencil, a trusty eraser, and a blank canvas or sheet of paper. We'll show you exactly how to sketch the base outline, add depth with clever shading, and keep your proportions looking just right. Whether you are a beginner, a parent looking for a fun weekend activity, or a kid eager to build a paper neighborhood, this guide is for you. Let's get started!
🎯 Final Result
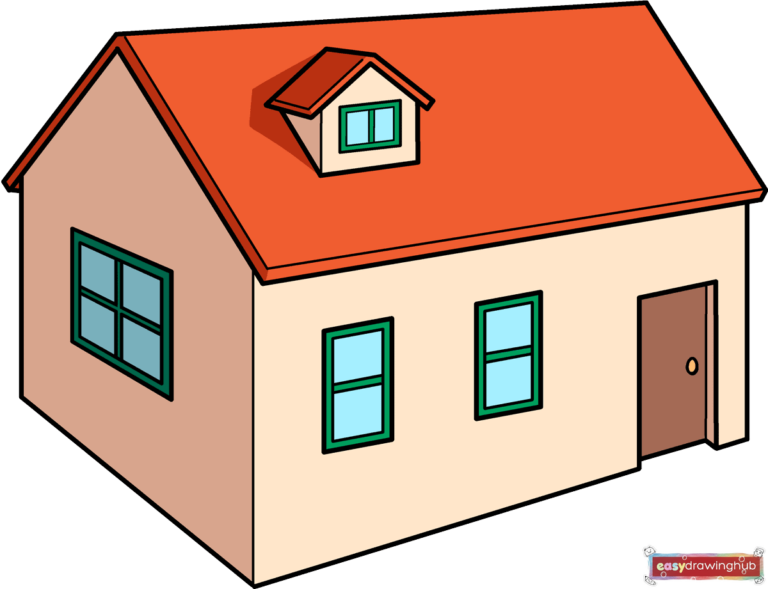
Step-by-Step Instructions
Step 1: Sketching the Front Door
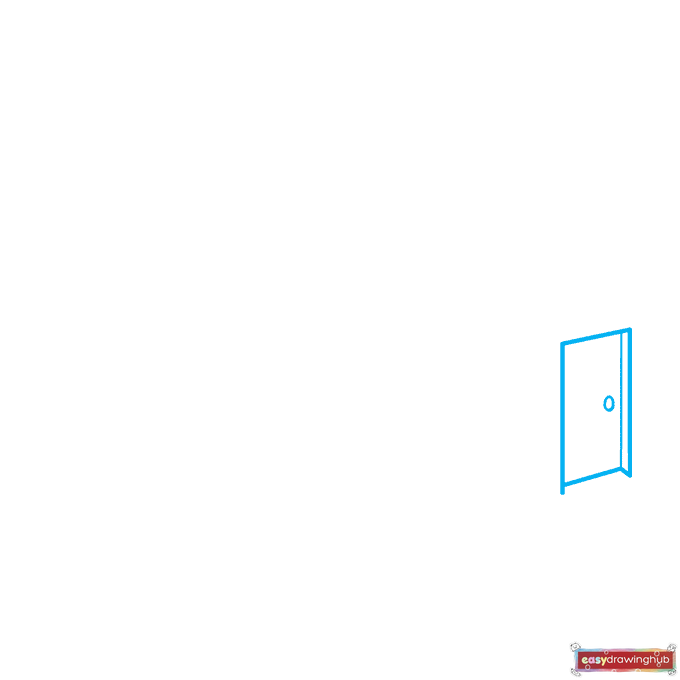
Begin your 3D house outline by drawing the front door. Sketch a tall, slightly angled rectangle near the bottom center of your paper. Add three short diagonal lines pointing up and to the right from the top-left, top-right, and bottom-right corners, then connect them to create a 3D door frame. Finish it off with a tiny oval for the doorknob.
Step 2: Outlining the Front Wall
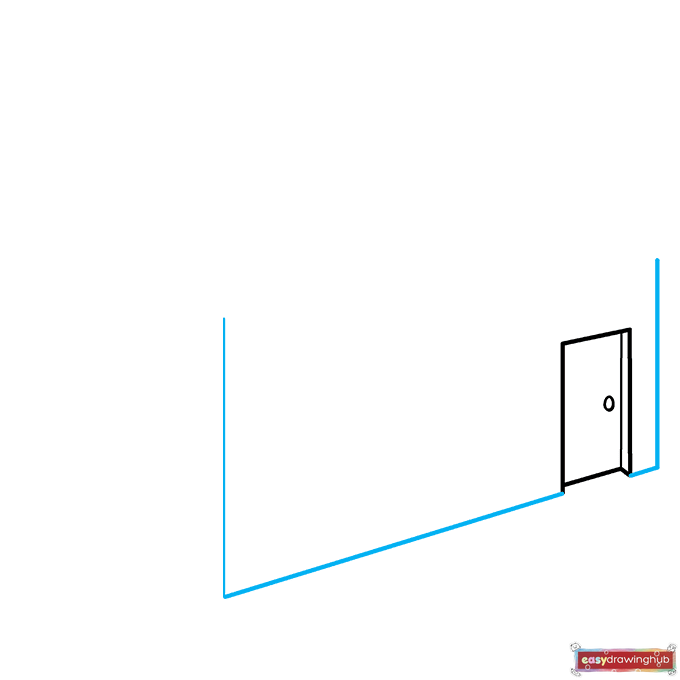
Now, let's build the front wall of your house. Draw a long diagonal line extending outward from the bottom left corner of the door, and a shorter one from the bottom right. From the ends of both of these lines, draw straight vertical lines going up to form the edges of your wall. Keep your pencil strokes light and steady!
Step 3: Adding the Side Wall and Front Roof
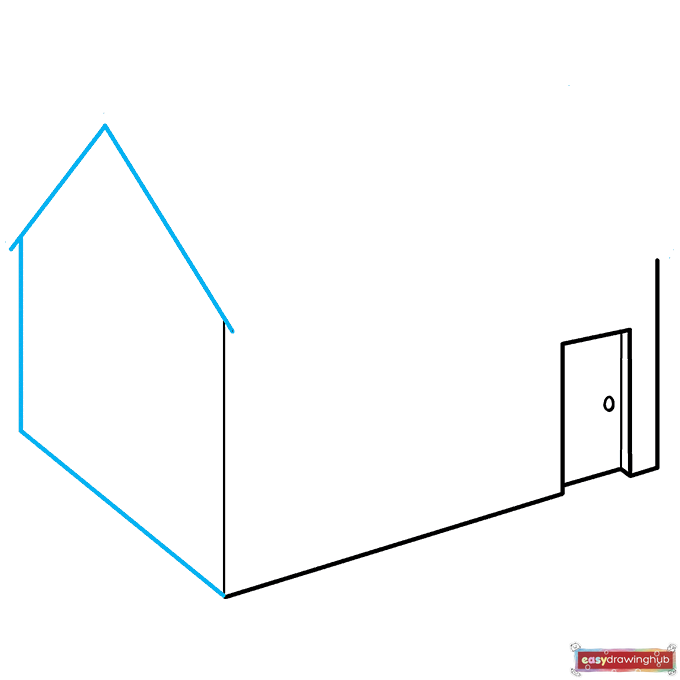
Let's give the house some depth by adding the side wall. Draw a horizontal line extending to the right from the front corner, then draw a vertical line going up from its end. Next, sketch a large, upside-down 'V' shape right above the front wall to create the base outline for your roof.
Step 4: Drawing the Main Roof
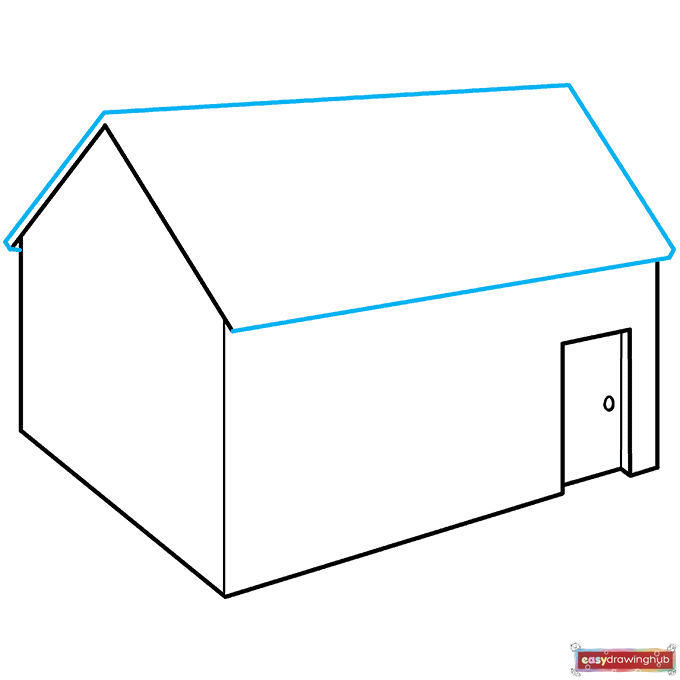
It's time to put a roof over our house! Draw two long, straight lines angling down toward the right, starting from the top and bottom of your 'V' shape. Connect the far ends of these lines with a short diagonal stroke. This creates the large, slanted side of your 3D roof.
Step 5: Creating the Roof Overhang
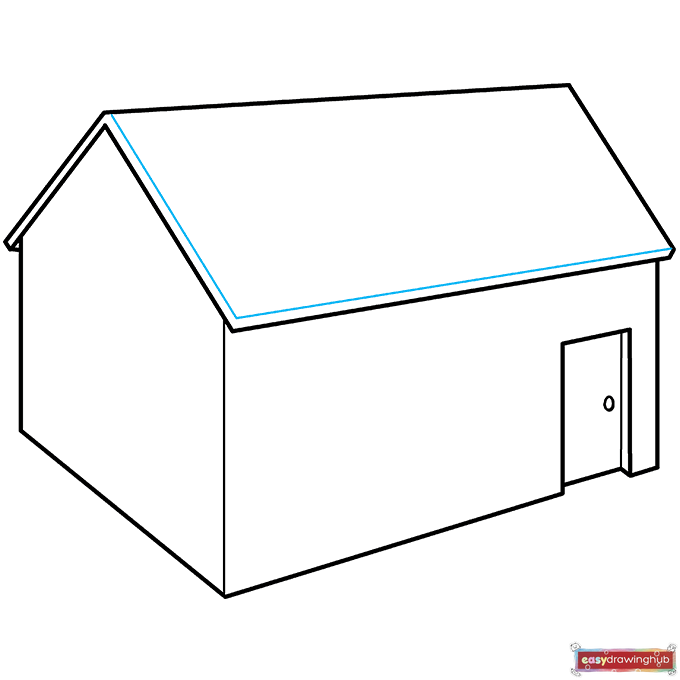
To make the roof look realistic and three-dimensional, we need to add an overhang. Draw an 'L' shaped line that runs parallel to the left side and bottom edge of your front roof's 'V' shape. This simple addition gives the roof a thick, realistic edge.
Step 6: Drawing the First Side Window
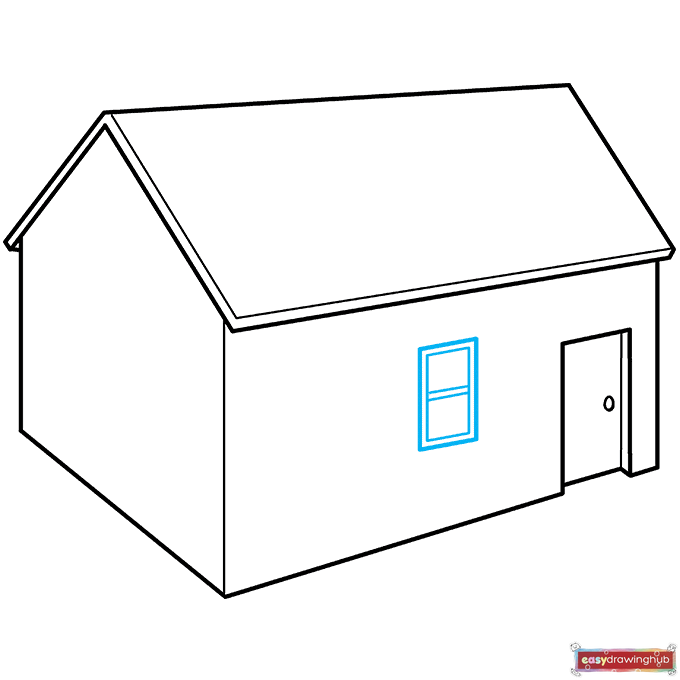
Let's let some light in by adding windows to the side wall. Sketch a tall rectangle, then draw a slightly smaller rectangle inside it to create the window frame. Add two horizontal lines across the middle of the inner rectangle to represent the glass panes.
Step 7: Adding the Second Side Window
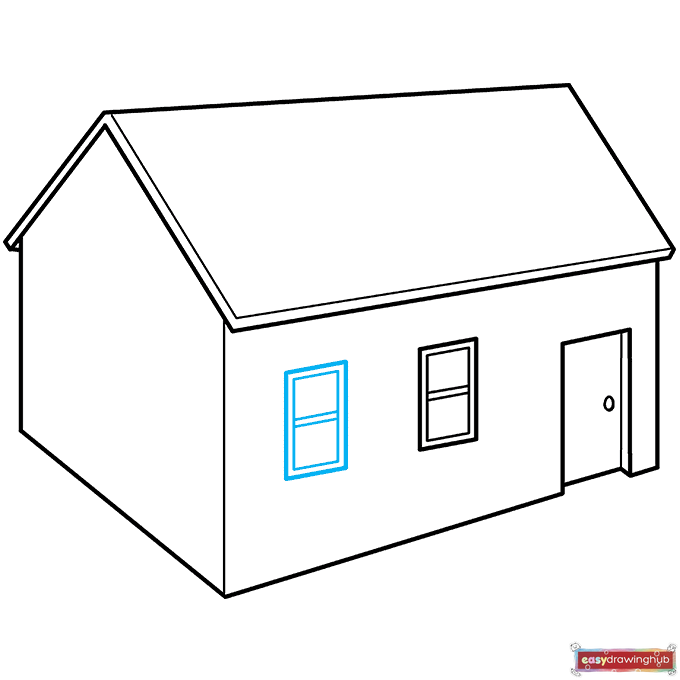
Right next to the first window, draw a second one that looks exactly the same. Sketch another rectangle with a smaller one inside for the frame. Draw two horizontal lines across the center to match the first window. Make sure to keep the proportions similar!
Step 8: Sketching the Front Window
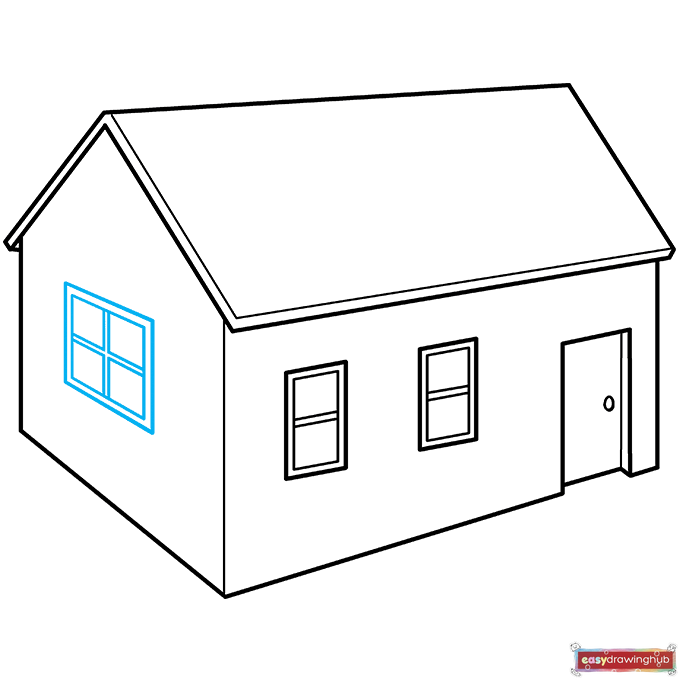
Move over to the front wall of your house to add a large, welcoming window. Draw a wide rectangle with a smaller rectangle inside it for the frame. Inside the smaller rectangle, draw a large plus sign (+) to divide the window into four neat glass panes.
Step 9: Adding a Dormer Window to the Roof
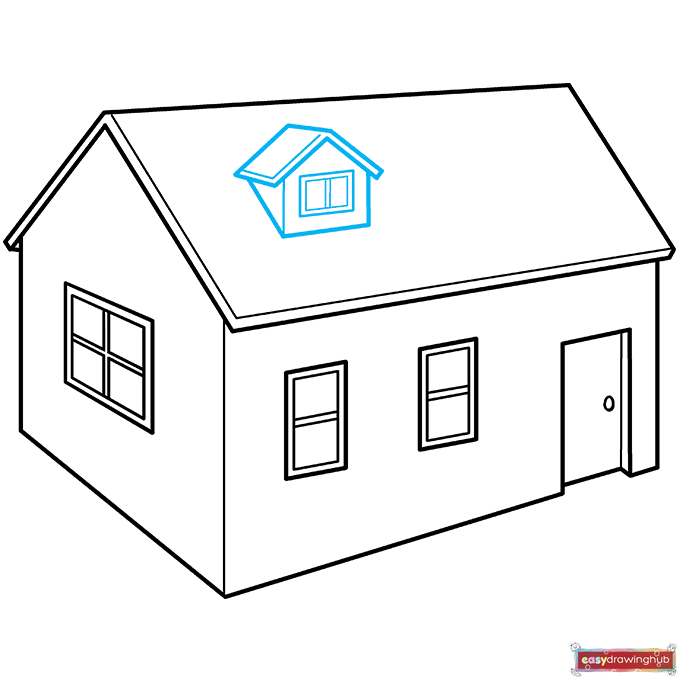
For a fun architectural detail, let's add a dormer window popping out of the roof. Draw a small vertical rectangle with a frame and a line down the middle. Enclose it in a house-like pentagon shape, then use short straight lines to connect it to the slant of the main roof, giving it a 3D pop!
Step 10: Coloring Your 3D House
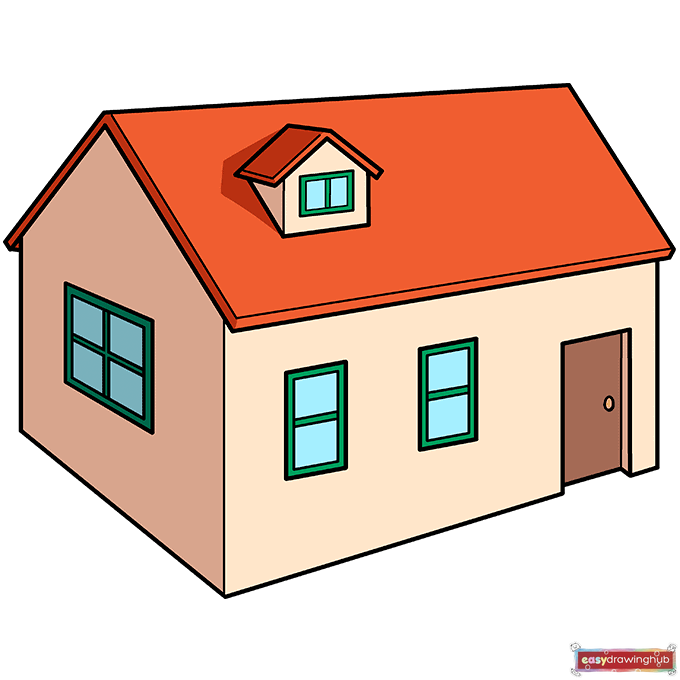
Your 3D house outline is completely finished! Now, grab your markers, crayons, or colored pencils to bring it to life. You can use cream for the siding, a warm orange for the roof, and bright green for the window frames like we did, or invent your very own dream house color palette!
More Tutorials