How to Draw a 3D Sphere: Easy Step-by-Step Guide
Have you ever wanted to make your drawings pop right off the page? Learning how to draw a 3D sphere is the perfect way to master depth, shading, and proportions! In this easy step-by-step tutorial, we will guide you through the simple strokes needed to turn a flat circle into a realistic, three-dimensional globe. Grab your favorite pencil, an eraser, and a fresh sheet of paper or canvas. Whether you are a beginner or a young artist looking to improve your sketching skills, this fun guide will teach you the secrets of outlining and shading to create an amazing 3D optical illusion. Let's get started!
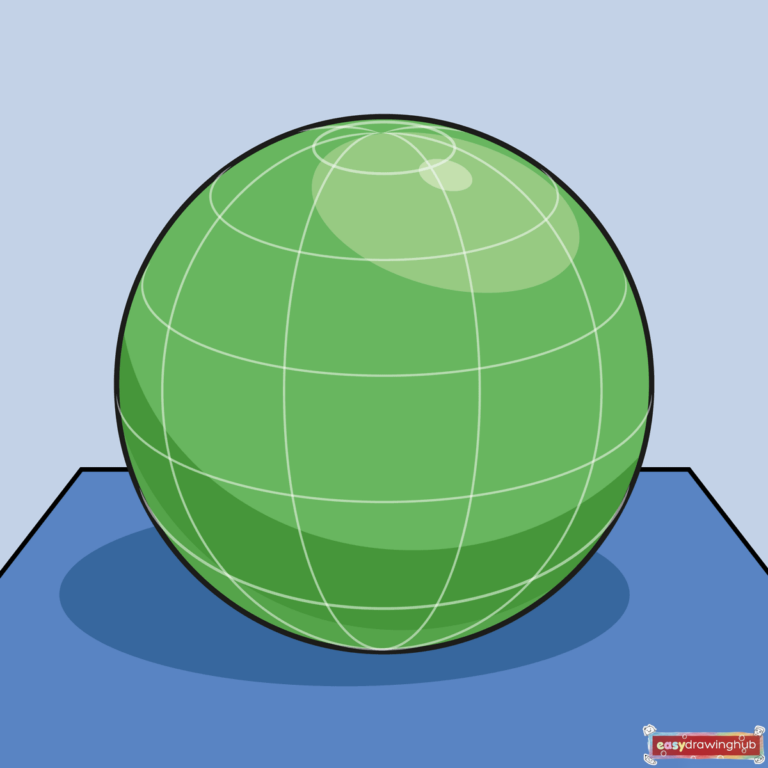
🎯 Final Result
Step-by-Step Instructions
Step 1: Sketching the Base Stand

Begin by drawing a horizontal straight line near the bottom of your paper. Then, add two diagonal lines extending downward and outward from each end. This creates a partial trapezoid shape that will serve as the sturdy base or stand for your 3D sphere. Keep your pencil strokes light here so you can easily erase them later.
Step 2: Outlining the Main Circle
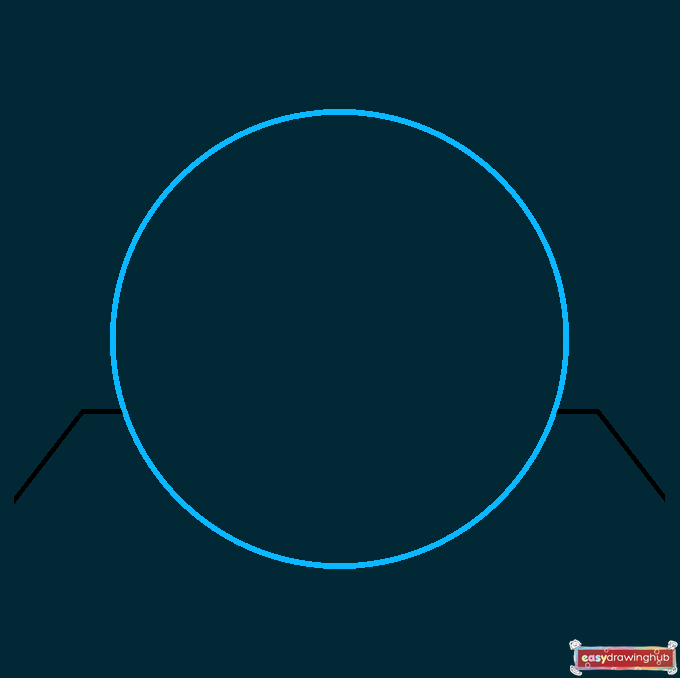
Draw a large, perfectly round circle that slightly overlaps the top of your trapezoid base. This circle forms the main body of your sphere. Once you are happy with the shape, carefully erase the lines of the base that fall inside the circle to keep your drawing neat.
Step 3: Adding the Top Pole
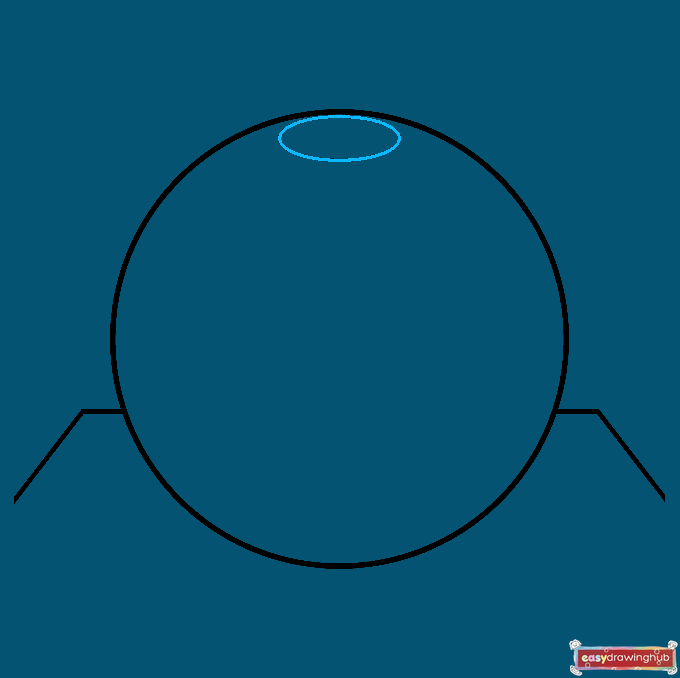
Now it is time to start adding the contour lines that create the 3D illusion. Draw a small, flat oval right near the top edge of your circle. This acts as the top pole or center point where our grid lines will eventually meet.
Step 4: Drawing the First Latitudinal Curve
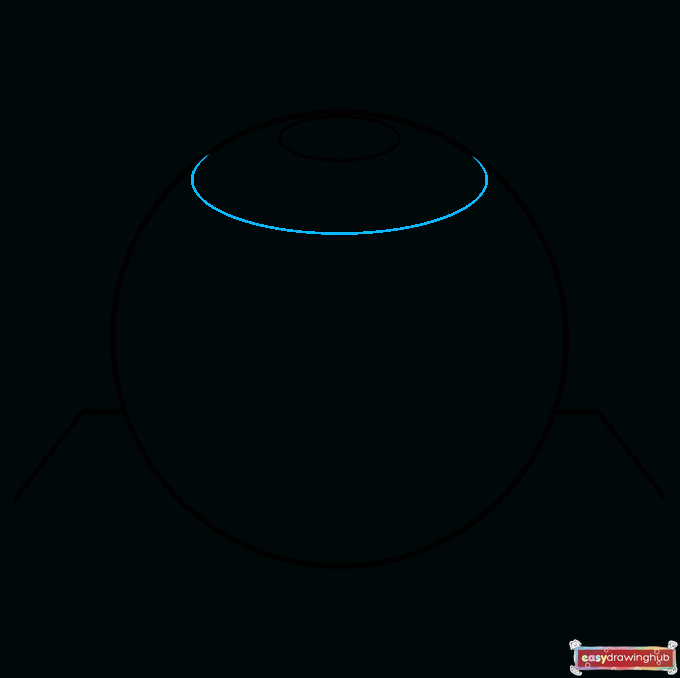
Just below the small oval you just drew, sketch a smooth, curved line that stretches from the left side of the oval to the right. This latitudinal line should look like a smile, helping to establish the rounded, three-dimensional volume of the sphere.
Step 5: Adding Another Horizontal Curve
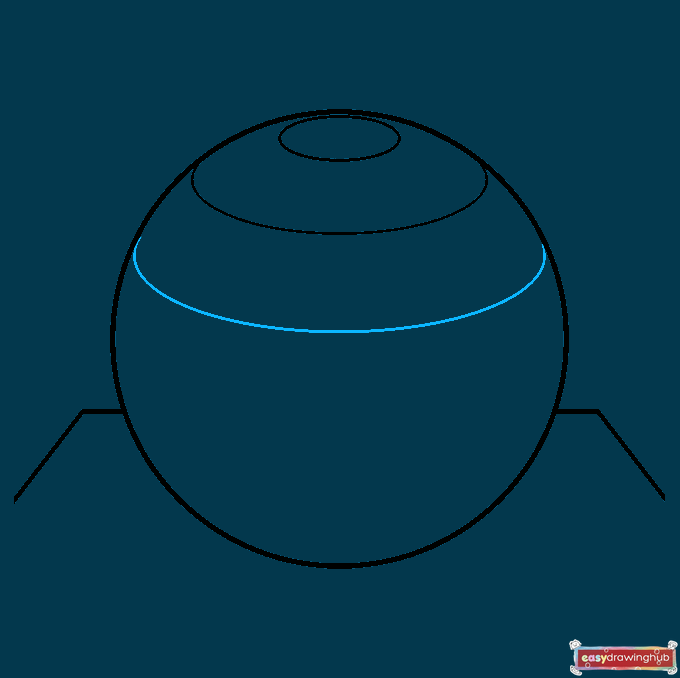
Move a little further down the circle and draw another long, sweeping curved line from one side to the other. Make sure this line follows the same rounded path as the previous one. This builds the grid that tricks the eye into seeing depth.
Step 6: Continuing the Contour Lines
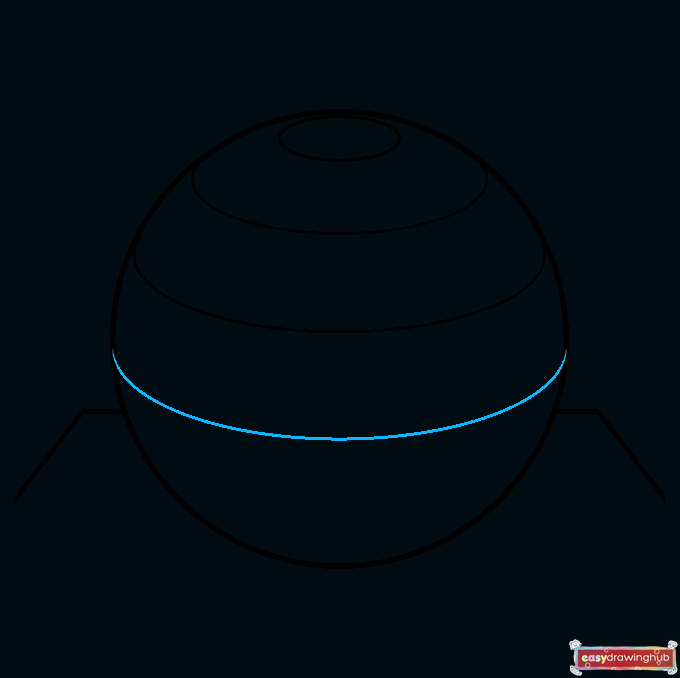
Draw a third long curved line across the lower half of the circle. Keep the spacing relatively even with the lines above it. Notice how these simple curved strokes instantly make the flat circle look like a round globe!
Step 7: Finishing the Horizontal Grid
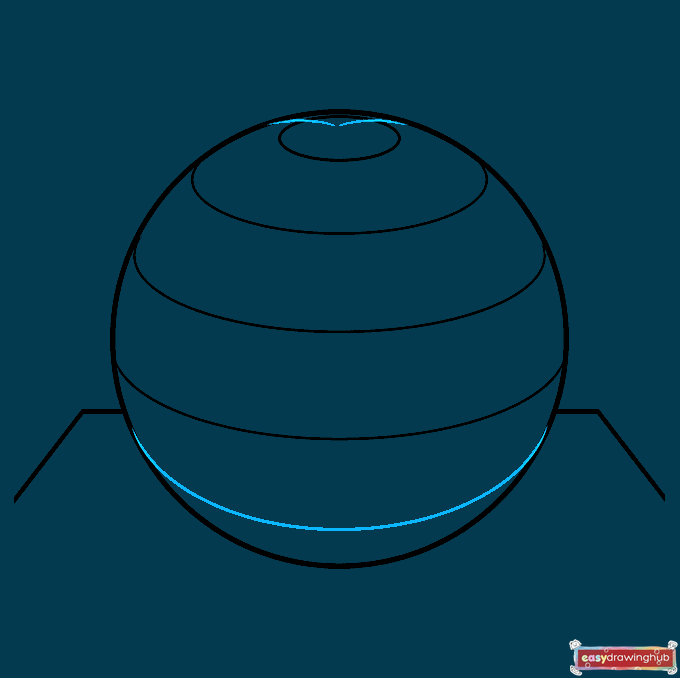
Sketch one final horizontal curved line near the very bottom of the circle. Then, go back up to the small oval at the top and draw two tiny curved lines extending from its sides toward the center. This completes the horizontal wrapping effect.
Step 8: Starting the Longitudinal Lines
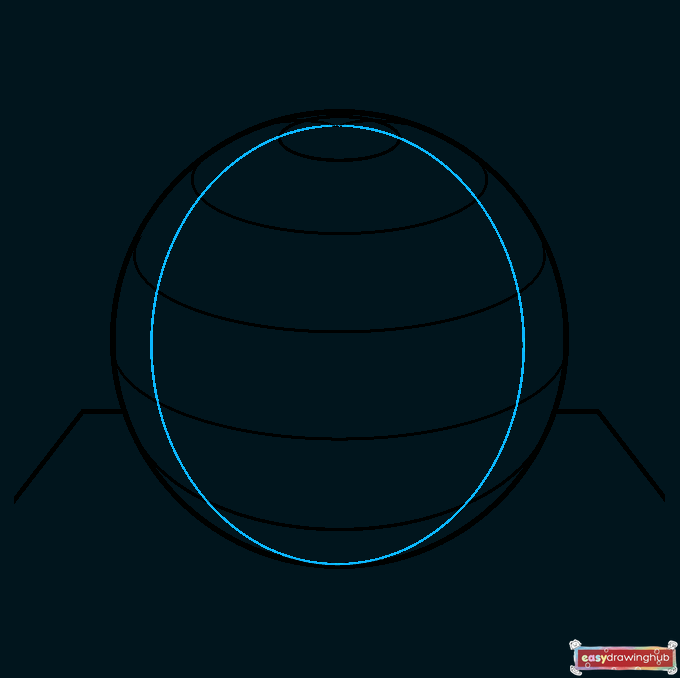
Next, we will add vertical curves to complete our 3D grid. Draw two long, curved lines starting from the bottom of the circle, sweeping upwards to connect with the short lines you drew inside the top oval. Imagine you are drawing the seams of a basketball.
Step 9: Completing the 3D Grid
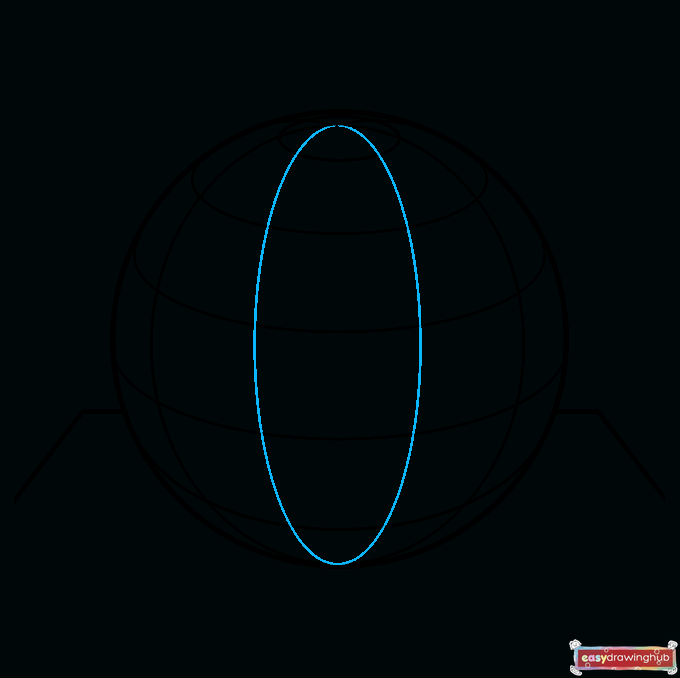
Add two more vertical curved lines on the outer edges of the circle, following the same bottom-to-top path. These final grid lines complete the wireframe look of your sphere, giving it perfect proportions and a realistic 3D structure.
Step 10: Shading for a Realistic 3D Effect
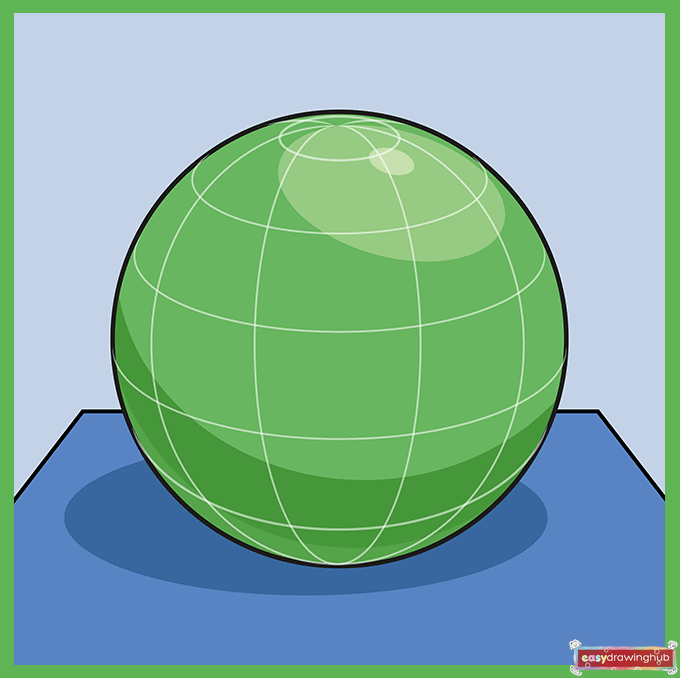
Grab your pencil or markers to shade your cartoon sphere! To make it look truly 3D, leave a light, uncolored spot near the top to act as a highlight. Gradually make your shading darker as you move toward the bottom and outer edges. This gradient mimics a real light source shining on your drawing.
More Tutorials