How to Draw a Baboon: Easy Step-by-Step Guide
Are you ready to go on a drawing safari? Learning how to draw a baboon is a fantastic way to practice sketching unique animal shapes and fun, furry textures! In this easy step-by-step guide, we will break down the process of drawing this fascinating primate into simple, manageable strokes. Whether you are a beginner artist or a parent looking for a fun weekend activity for the kids, this tutorial will help you achieve a great-looking baboon outline in no time. Grab your favorite pencil, a trusty eraser, and a blank canvas or piece of paper. We will guide you through basic proportions, facial features, and shading techniques to bring your wild animal to life!
🎯 Final Result
Step-by-Step Instructions
Step 1: Sketching the Baboon's Face and Snout
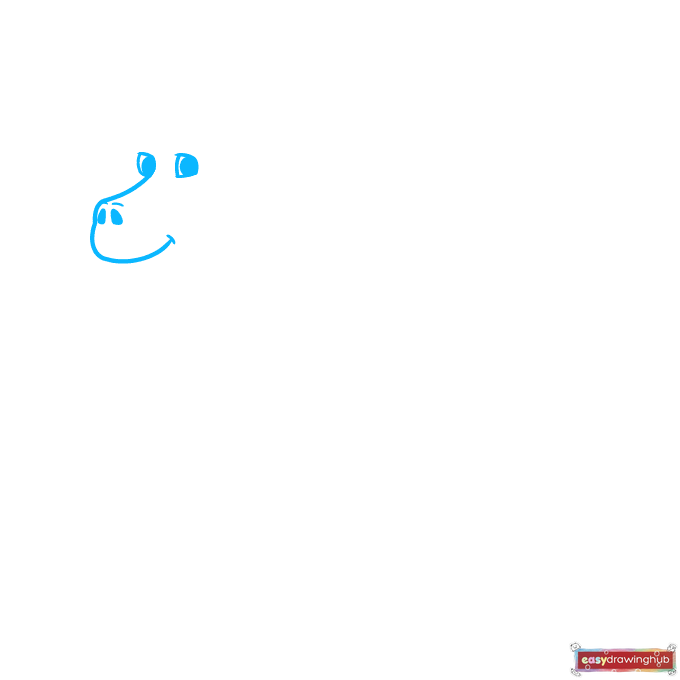
Start your cartoon baboon outline by focusing on the face. Draw two small rectangular shapes for the eyes, adding a tiny shaded oval inside each one for the pupils. Next, extend a long, sweeping curved line down from the eye area to form the snout, and add two small shaded triangles at the very tip for the nostrils.
Step 2: Outlining the Jaw and Brow
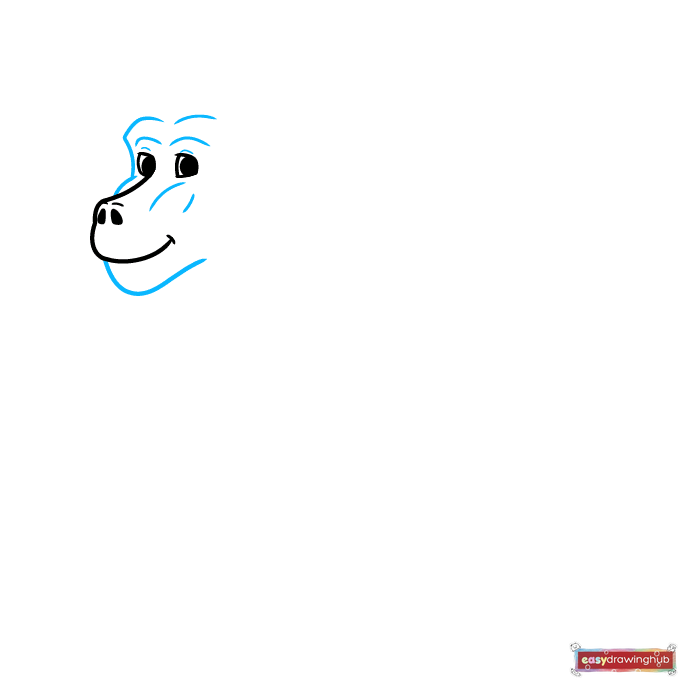
Now, let's give our baboon some character by framing its face. Use smooth, curved lines to outline the lower jaw and the sides of the cheeks. Add a prominent brow ridge right above the eyes and sketch the upper eyelids to give your primate a focused, expressive look.
Step 3: Adding the Furry Face Ruff
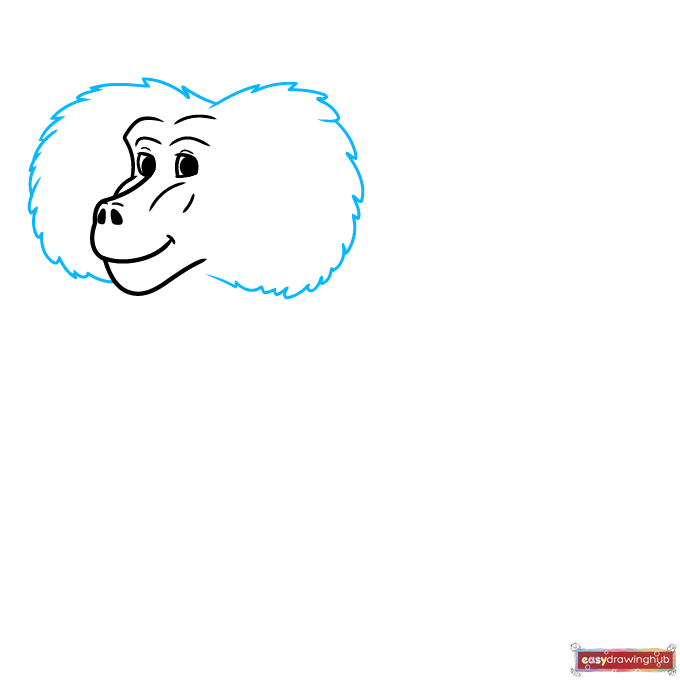
Baboons are known for their impressive facial hair! Draw a series of short, connecting curved lines that meet at sharp, jagged points along both sides of the face. Keep your pencil strokes light and loose here to create the illusion of a thick, fluffy fur ruff framing the head.
Step 4: Drawing the Chest and Shoulder
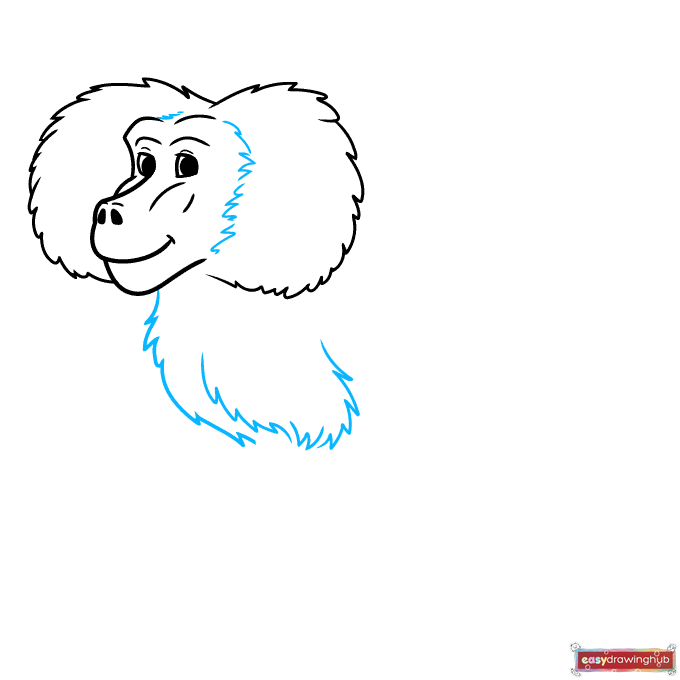
Continue building the body by extending the fur downwards. Use more connected, jagged lines to indicate the thick fur on the side of the face blending into the body. Then, sketch a broad, curved line to form the primate's strong chest and upper shoulder area.
Step 5: Sketching the Front Arm and Paw
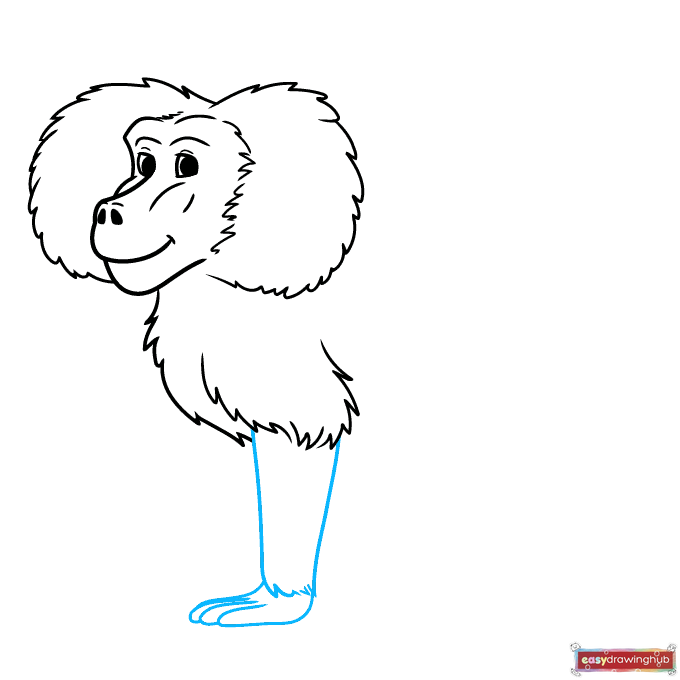
From the shoulder you just drew, extend two long, parallel lines downward to create the front arm. Connect these lines at the bottom with a few jagged strokes to show fur overlapping the wrist. Finally, use small, overlapping curved lines to draw the fingers of the front paw resting on the ground.
Step 6: Outlining the Torso and Back Leg
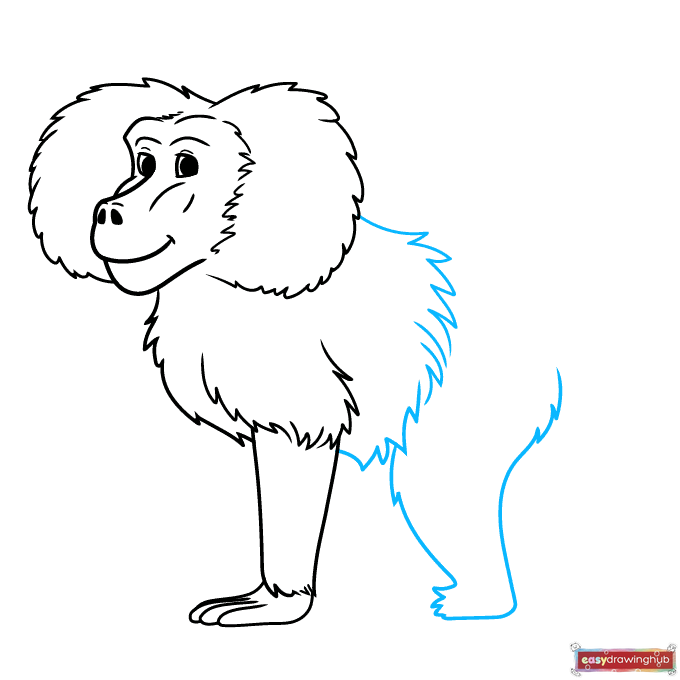
Let's move on to the main body of your wild animal. Draw a long, slightly arched line for the back and torso, using jagged strokes to keep that furry texture consistent. Curve the line downward to form the thick upper thigh of the rear leg, positioning it as if the baboon is sitting or walking on all fours.
Step 7: Drawing the Second Front Leg
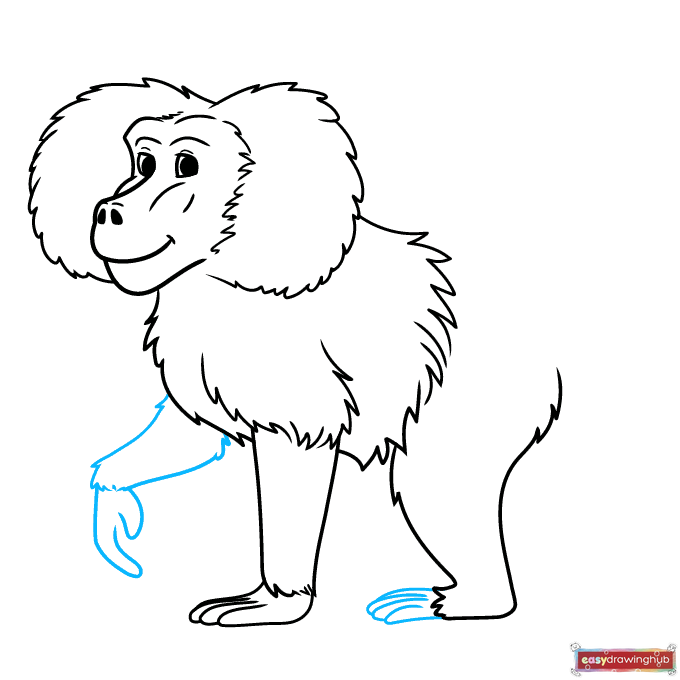
Tuck the second front leg just behind the first one to give your drawing a sense of depth. Use a few jagged, curved lines to sketch the visible part of this foreleg. Cap it off at the bottom with overlapping curved lines to form the toes of the second front paw.
Step 8: Adding the Remaining Rear Leg
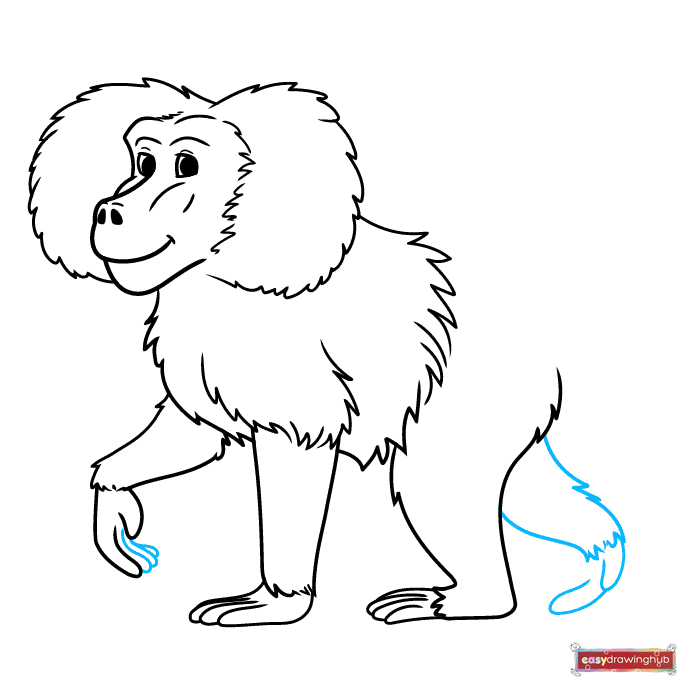
Complete the baboon's stance by drawing the second rear leg peeking out from behind the body. Just like before, use jagged, curved lines to represent the furry texture of the leg. Finish it with a few overlapping curved lines at the base to create the back foot.
Step 9: Attaching the Long Tail
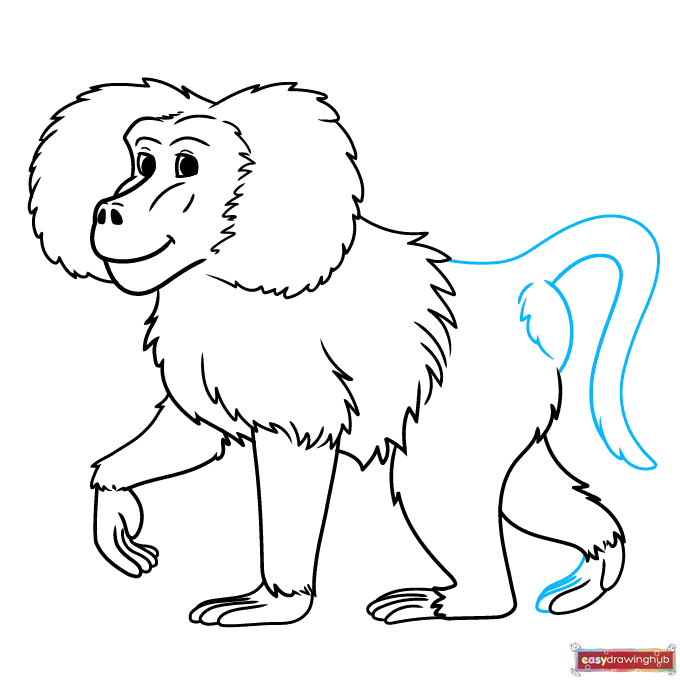
Every baboon needs its signature tail! Draw a long, sweeping curved line extending up and away from the back of the torso, doubling it back to make it thick. Add a tuft of jagged fur at the very tip, and sketch a few jagged lines around the base of the tail to blend it naturally into the body.
Step 10: Coloring Your Baboon Artwork
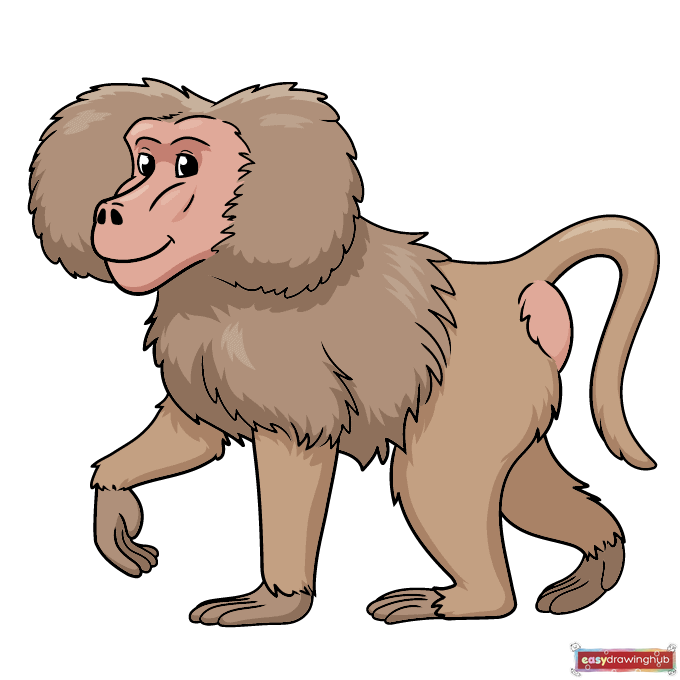
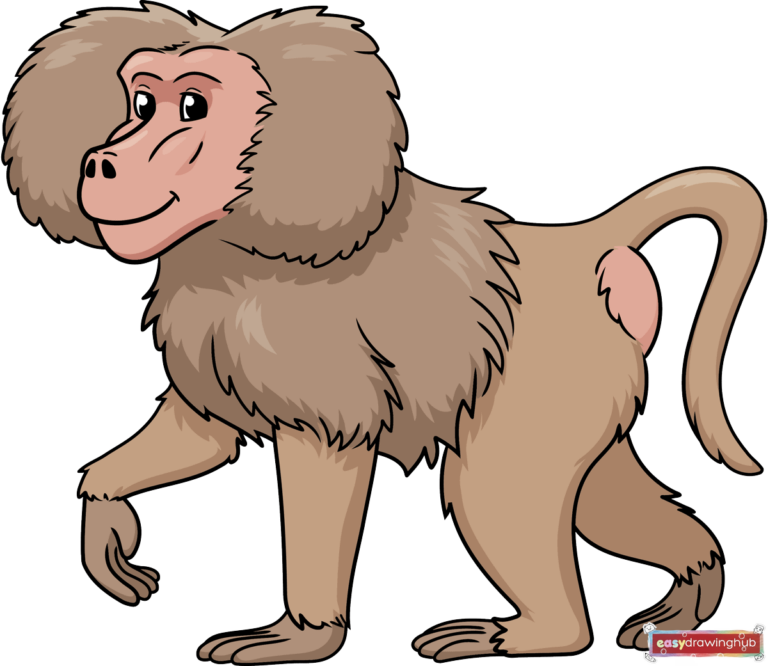
Your cartoon baboon outline is completely finished and ready for color! Baboons in the wild typically have tan, light brown, or dark brown fur. To make your drawing pop, color the exposed skin on the face, hands, and feet a contrasting shade of pink or light gray.
More Tutorials