How to Draw a Baby: Easy Step-by-Step Guide
Are you ready to learn how to draw an adorable cartoon baby? Whether you are a beginner, a parent looking for a fun afternoon activity, or a kid wanting to improve your art skills, this easy drawing guide is perfect for you! In this tutorial, we will break down the entire process into simple, manageable steps so you can create a wonderful baby sketch with complete confidence. Grab your favorite sketching pencil, a trusty eraser, some blank paper, and a black marker for your final outline. By the end of this lesson, you will understand basic proportions, smooth strokes, and simple shading techniques to bring your cute character to life. Let's get started on our canvas!
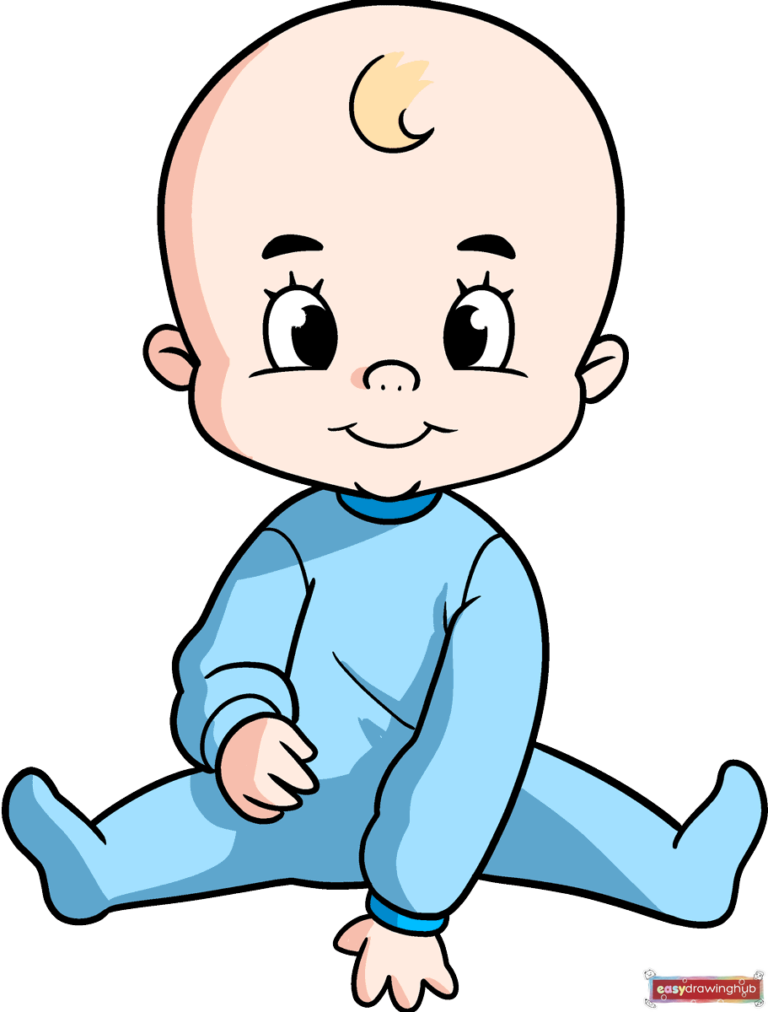
🎯 Final Result
Step-by-Step Instructions
Step 1: Sketching the Eyes and Eyebrows
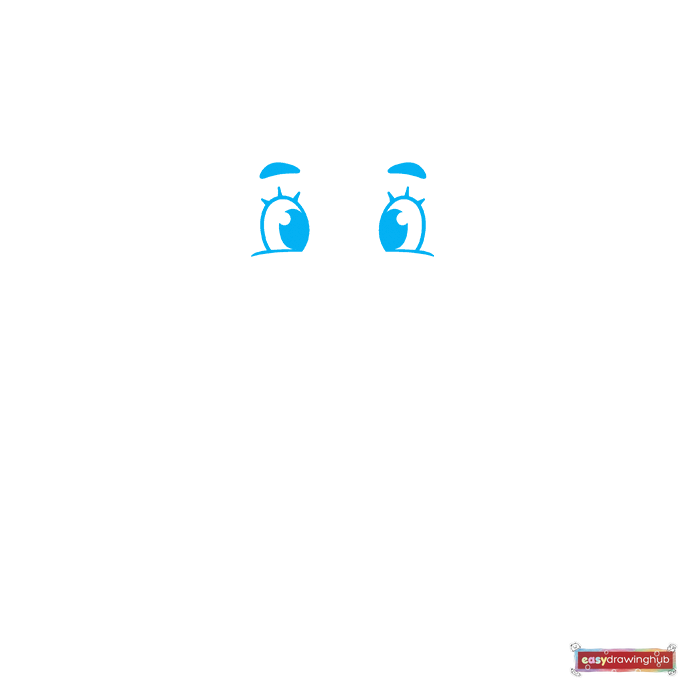
Begin your cartoon baby outline by drawing the eyes near the center of your paper. Draw two curved lines for the tops of the chubby cheeks, and place a partial oval above each one. Inside these ovals, draw two smaller circles and shade the space around them to create cute, shiny pupils. Finally, add a curved shape above each eye for the eyebrows and three tiny strokes for the eyelashes. Keep your pencil strokes light here so you can easily erase them later.
Step 2: Outlining the Face and Ears
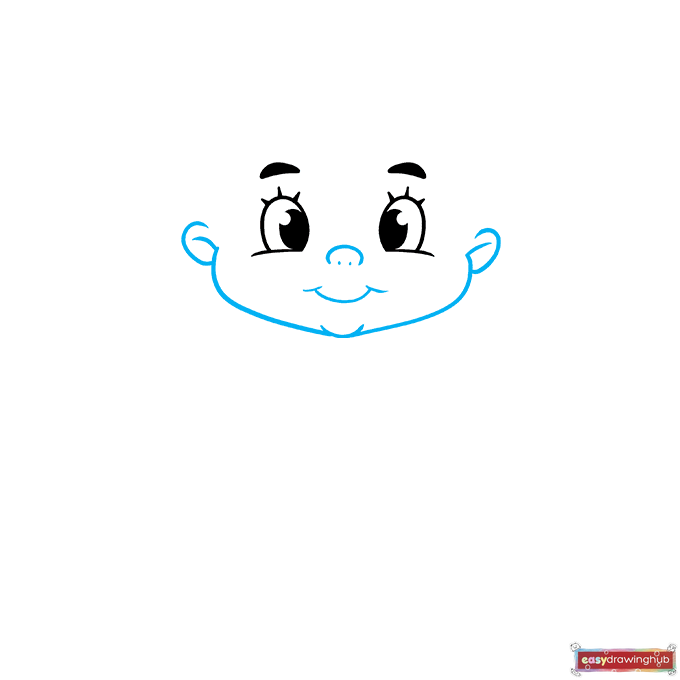
Now it is time to shape the baby's adorable face. Use smooth, curved lines to sketch the chubby cheeks, a rounded chin, and a sweet smiling mouth. Add a tiny curved line for the nose and contour the inside of the ears. Take your time to ensure the facial proportions look balanced and friendly.
Step 3: Drawing the Head and Hair
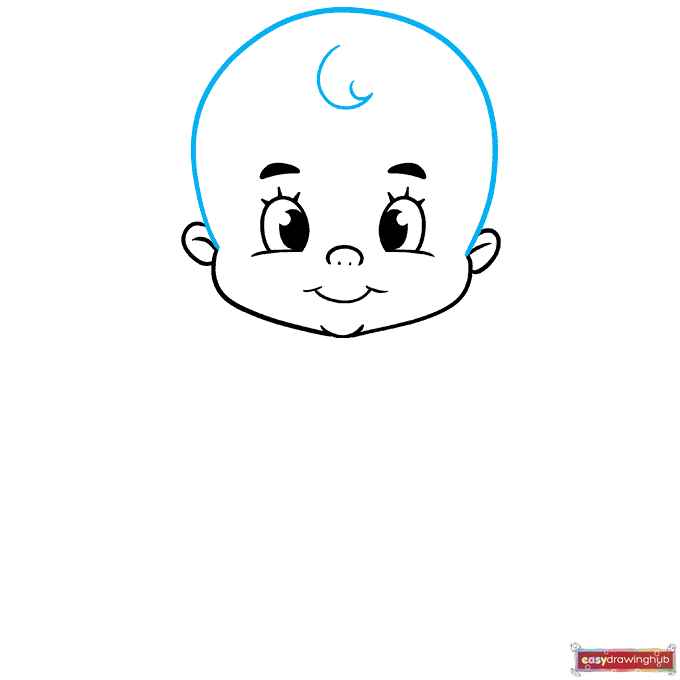
Let's give our baby a head and a cute little hairstyle! Draw a large, long curved line connecting the tops of the ears to form the round shape of the head. Right in the middle of the forehead, sketch two small curved lines that meet at a point to create a tiny, adorable curl of hair.
Step 4: Starting the Clothes and Right Sleeve
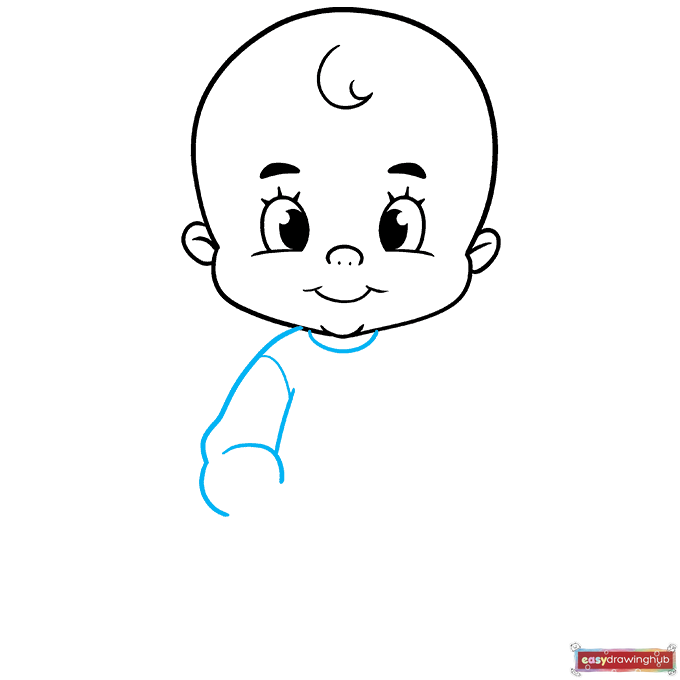
Move down below the head to begin drawing the baby's outfit. Enclose a small partial circle just under the chin to form the neckline of the garment. Then, use a series of gentle, curved lines extending outward to sketch the right sleeve. Add a small banded line near the top of the sleeve to represent the stitching of the fabric.
Step 5: Adding the Right Hand and Cuff
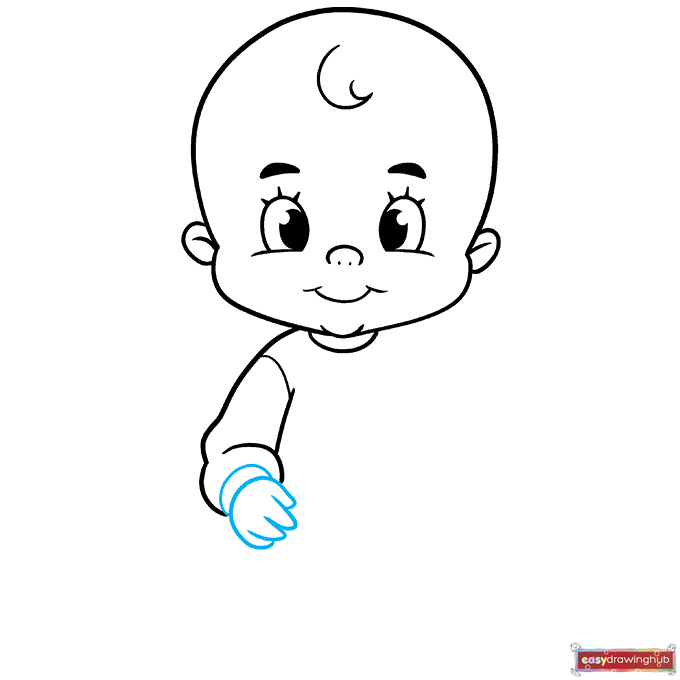
Let's finish up the right arm by adding the hand and sleeve details. Draw a crescent-shaped curve at the bottom of the sleeve to create a folded cuff. Just below the cuff, use a few small, rounded lines to enclose the baby's tiny, chubby hand. Remember to keep your outlines smooth and soft.
Step 6: Sketching the Left Sleeve
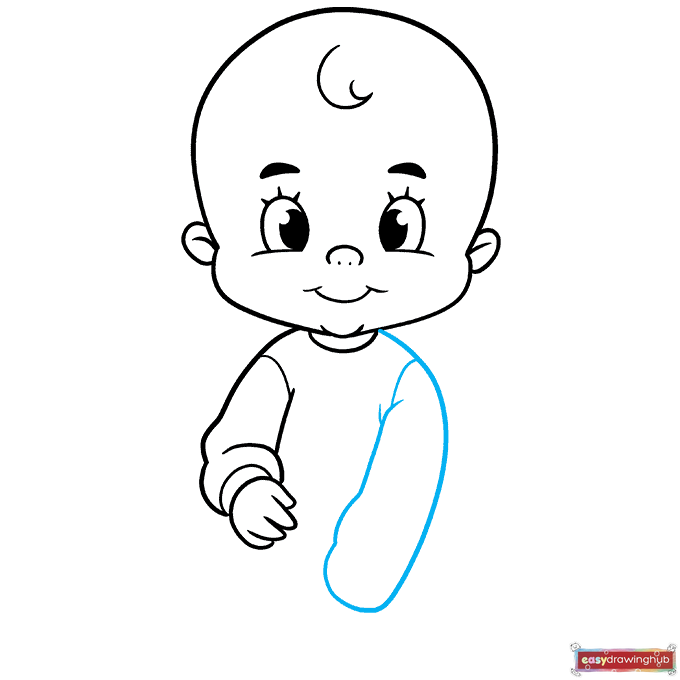
Next, we will draw the left arm, which will be resting in a slightly different position. Extend a few curved lines outward from the left side of the neckline to form the second sleeve. Notice how this arm points slightly upward, giving the baby a playful and dynamic pose.
Step 7: Drawing the Left Hand and Cuff
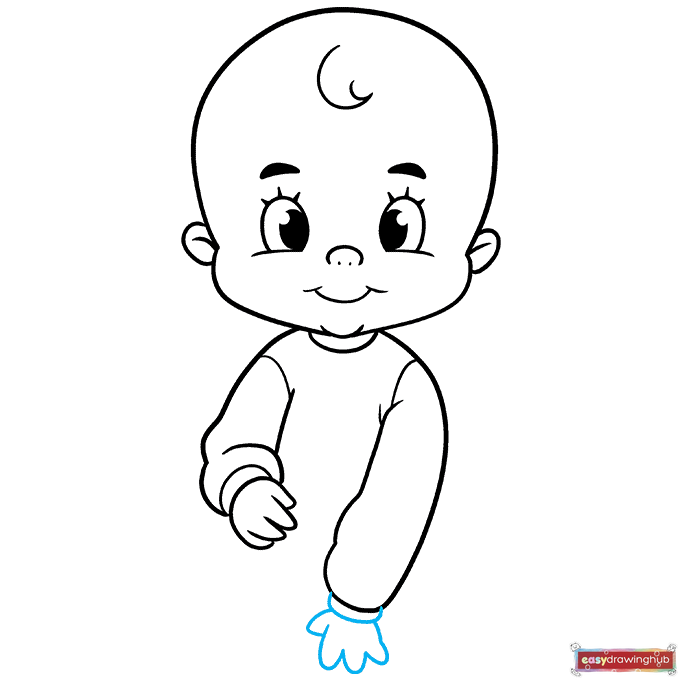
Just like you did on the right side, it is time to complete the left arm. Enclose the bottom of the left sleeve with a curved line to form the cuff. Then, draw a series of small, overlapping curves to create the baby's left hand. Take a moment to erase any overlapping sketch lines inside the arms.
Step 8: Outlining the Right Leg and Foot
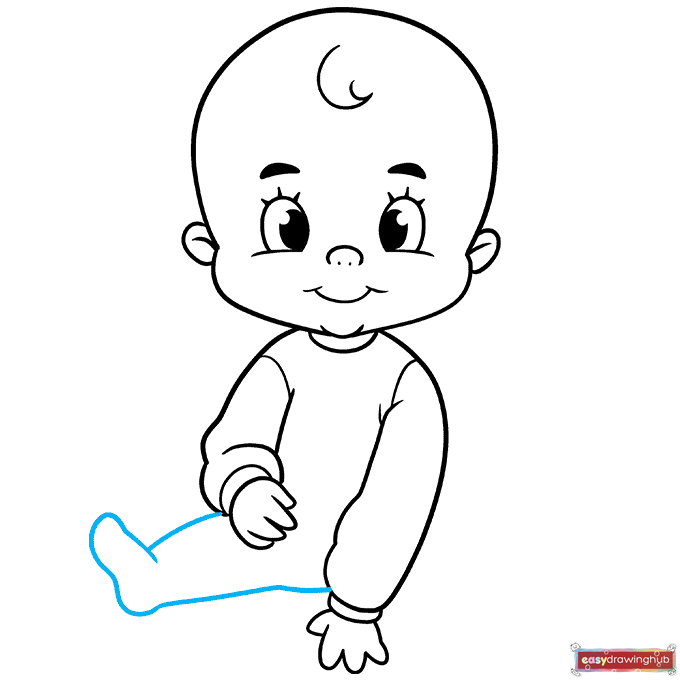
Let's move down to the lower half of the body to draw the legs. Use two overlapping curved lines extending downward from the right side of the outfit to form the baby's leg. Loop one of the lines back up to create a small, rounded foot that connects smoothly to the top of the leg.
Step 9: Completing the Left Leg and Torso
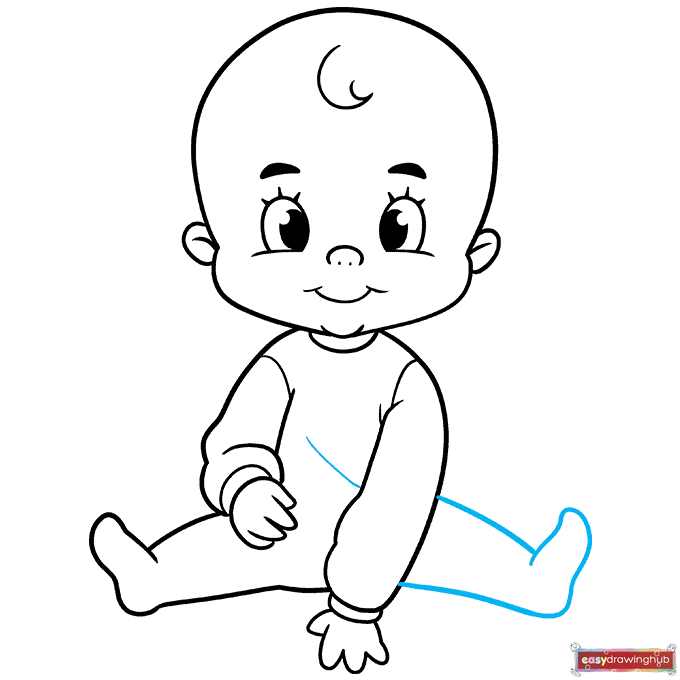
Finish the main body outline by drawing the left leg and foot using similar curved lines. Make sure the feet look soft and rounded. Finally, add a few short contour lines across the baby's torso to represent the wrinkles and folds in the fabric of the onesie. Your base sketch is now complete!
Step 10: Coloring Your Baby Drawing
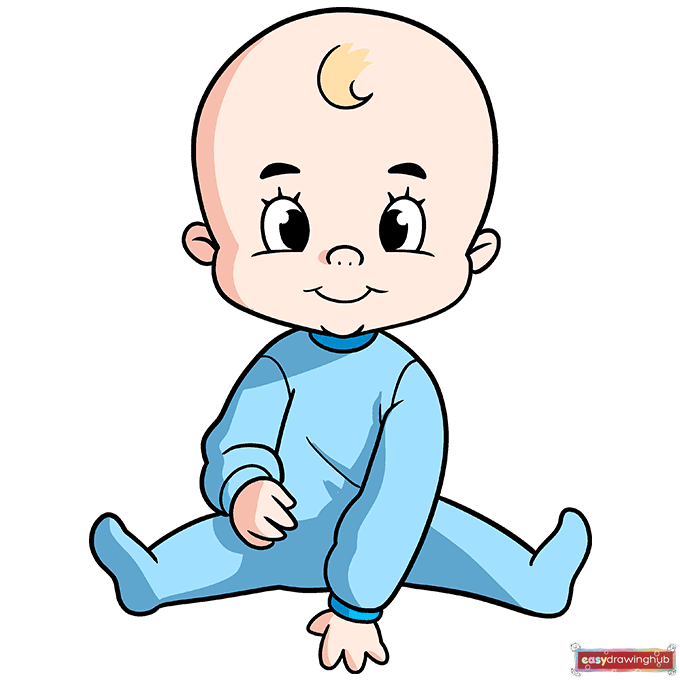
Your cartoon baby outline looks fantastic! Now comes the most fun part: bringing your artwork to life with color. Grab your markers, crayons, or colored pencils. You can choose any color for the baby's hair and outfit. Feel free to get creative by adding fun patterns, stripes, or polka dots to the onesie!
More Tutorials