How to Draw a Baby Bear: Easy Step-by-Step Guide
Are you ready to create the most adorable woodland creature? Learning how to draw a cute baby bear is a fantastic way to practice your sketching skills and create a lovable character. In this easy step-by-step tutorial, we will guide you through the simple strokes and proportions needed to bring this fuzzy friend to life on your canvas. Whether you are a beginner or a parent looking for a fun art project, you will achieve a wonderful outline in no time! Grab your favorite pencil, a trusty eraser, some paper, and let's start outlining our sweet little bear.
🎯 Final Result
Step-by-Step Instructions
Step 1: Sketching the Base Outline

Begin by drawing a large, light oval near the top center of your paper. This simple shape will act as the base outline for your baby bear's head. Keep your pencil strokes very light here so you can easily erase any overlapping lines later on.
Step 2: Shaping the Furry Cheeks and Chin
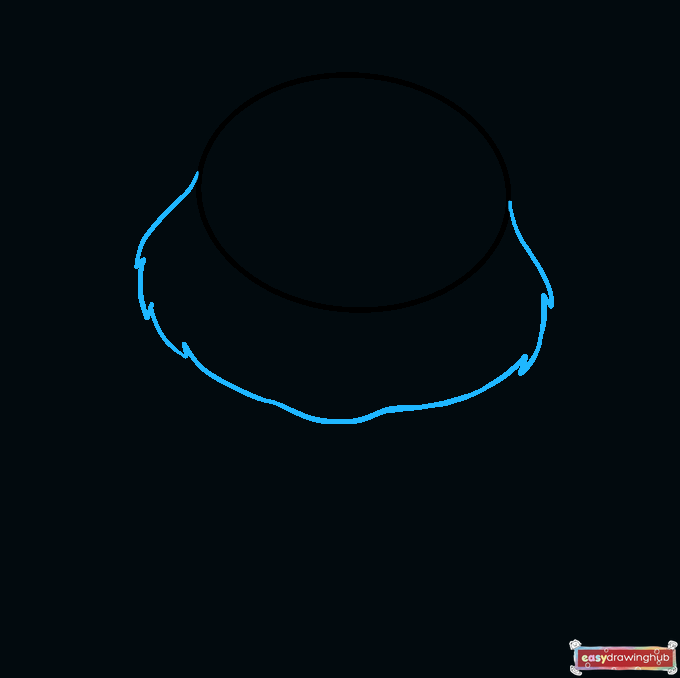
On the lower half of your oval, use a series of short, curved lines to sketch the fluffy cheeks and chin. Connect these lines at jagged points to give the outline a realistic, furry texture. This will make your baby bear look extra soft and cuddly!
Step 3: Adding the Cute Bear Ears
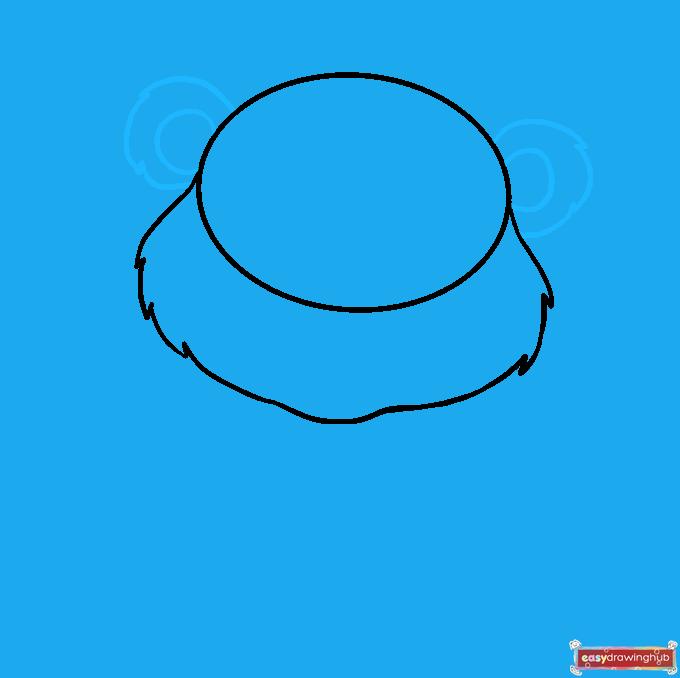
Draw a small, partial circle on the upper left and right sides of the head to form the smooth inner ears. Next, surround each inner ear with a larger, rounded shape made of short, jagged strokes. This creates the fluffy outer ears that give the bear its signature look.
Step 4: Cleaning Up the Face Guidelines

Carefully take your eraser and remove the original smooth oval guideline from the bottom half of the bear's face. Leaving only the jagged, furry outline will instantly make your sketch look much more professional and clean. Take your time to avoid erasing your new fur details.
Step 5: Outlining the Furry Arms and Paws
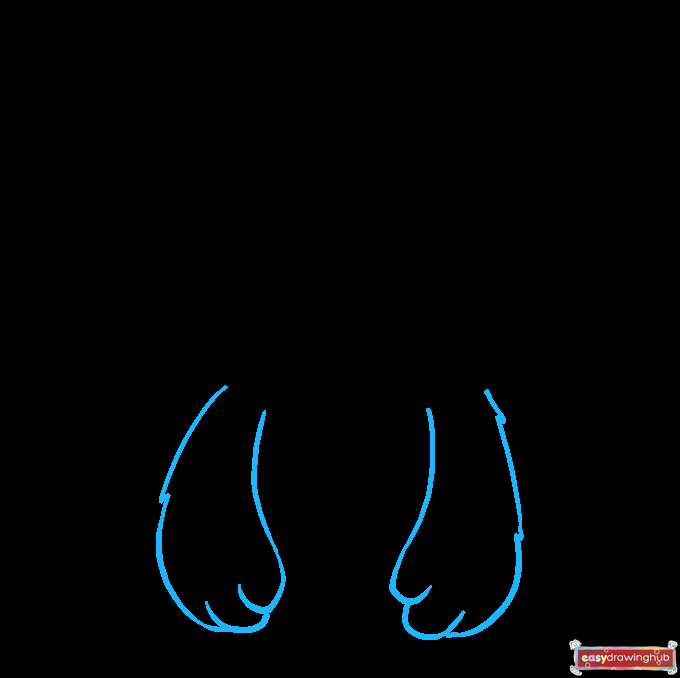
Extend two pairs of lines downward from just below the bear's chin to form the arms, using short, connecting strokes for a furry texture. At the bottom of each arm, draw overlapping 'U' shaped lines to create the cute, chubby fingers of the paws. Make sure the arms curve slightly inward.
Step 6: Drawing the Belly and Lower Body
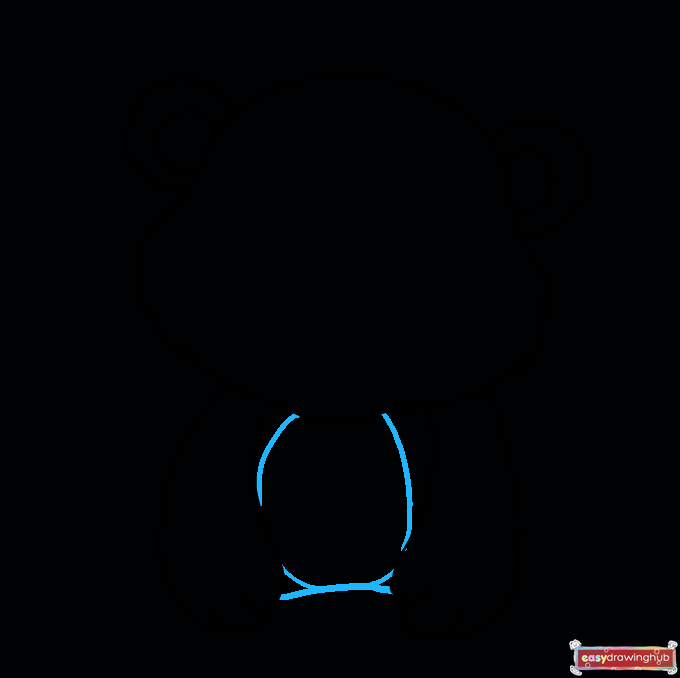
Connect the two front paws by drawing a smooth, curved line between them to form the bottom of the bear. Just above this line, sketch a large, wide oval nestled between the arms. This creates the soft, round belly of your adorable baby bear.
Step 7: Sketching the Back Feet and Toe Beans
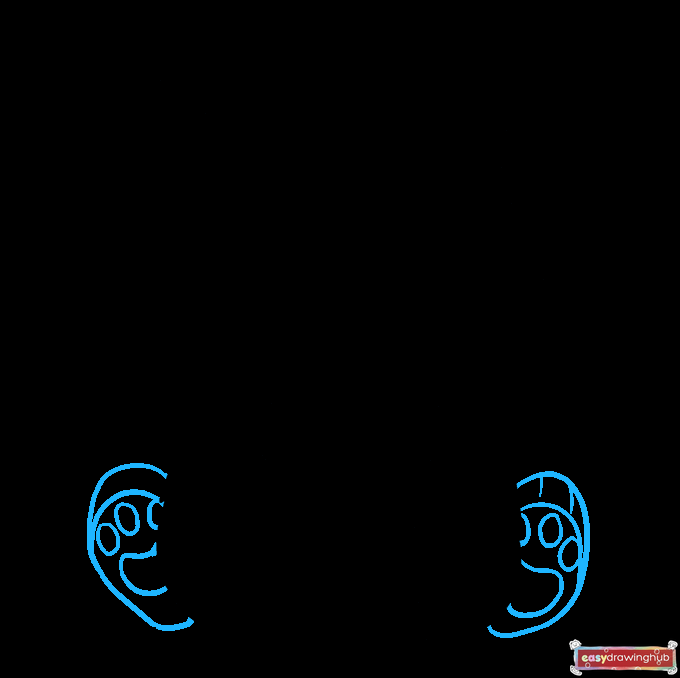
Draw a large, irregular oval on the outside of each front paw to form the base of the back feet, adding a curved shape on top for the legs. Inside each foot pad, draw one large irregular shape at the bottom and three small ovals near the top. These make up the adorable little toe beans!
Step 8: Creating the Eyes and Nose
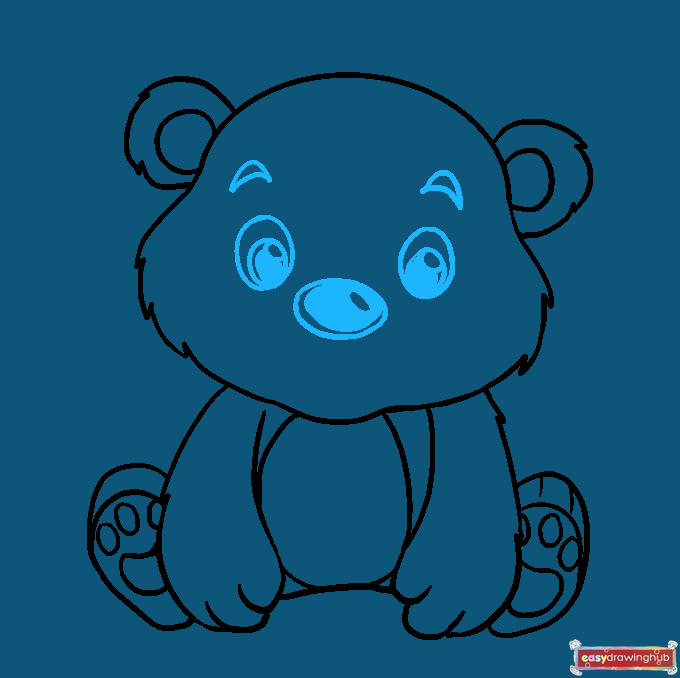
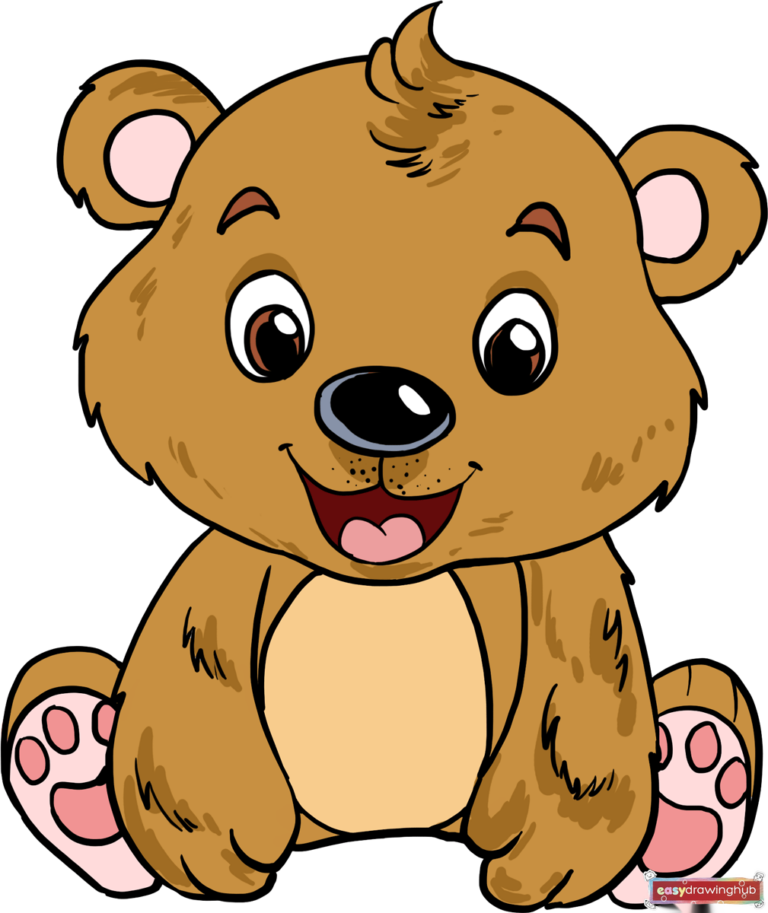
In the center of the face, draw an oval for the nose, adding a smaller oval inside for a shiny highlight, and shade the rest. For the eyes, draw two larger ovals with smaller overlapping circles inside, shading the pupils to make them pop. Finish the expression by adding a small, curved eyebrow above each eye.
Step 9: Adding the Mouth and Final Fur Details
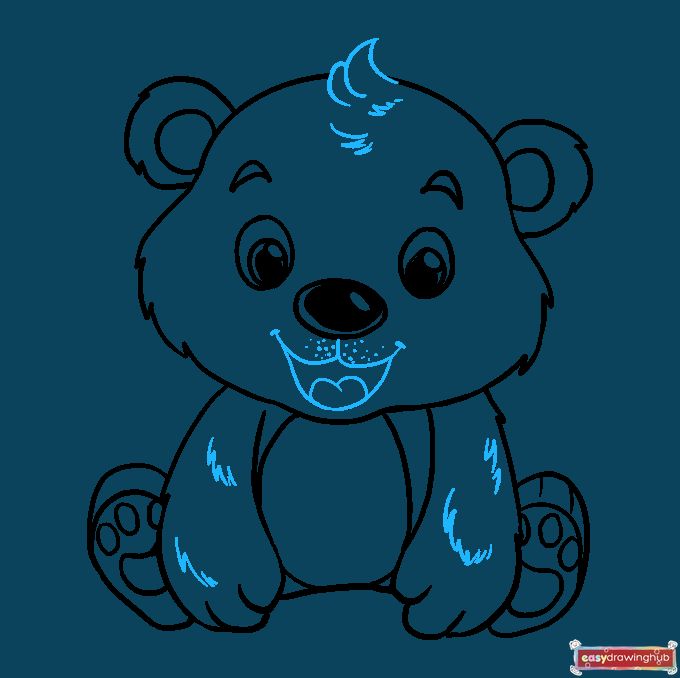
Draw a rounded 'W' shape right below the nose for the mouth, and enclose a small 'U' shape underneath for a happy, open smile with a tiny tongue inside. Add a few dots below the nose for whiskers, and sketch a cute tuft of fur on the very top of the head. Erase any remaining guidelines to complete your perfect outline!
Step 10: Coloring Your Baby Bear
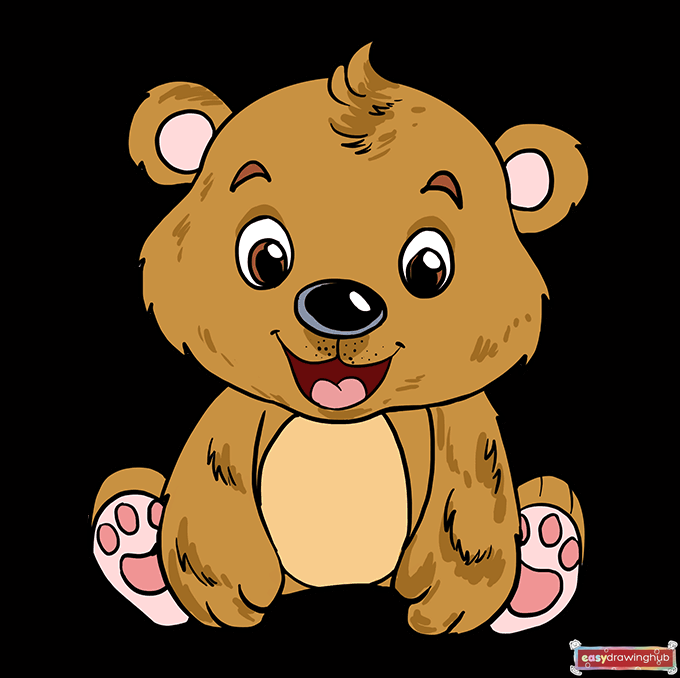
Now for the most fun part—coloring your baby bear! You can use classic brown, black, or blonde shades, or get creative with fun, imaginative colors. Use light shading on the belly and inner ears to give your drawing a wonderful 3D effect.
More Tutorials