How to Draw 3D Shapes: Easy Step-by-Step Guide
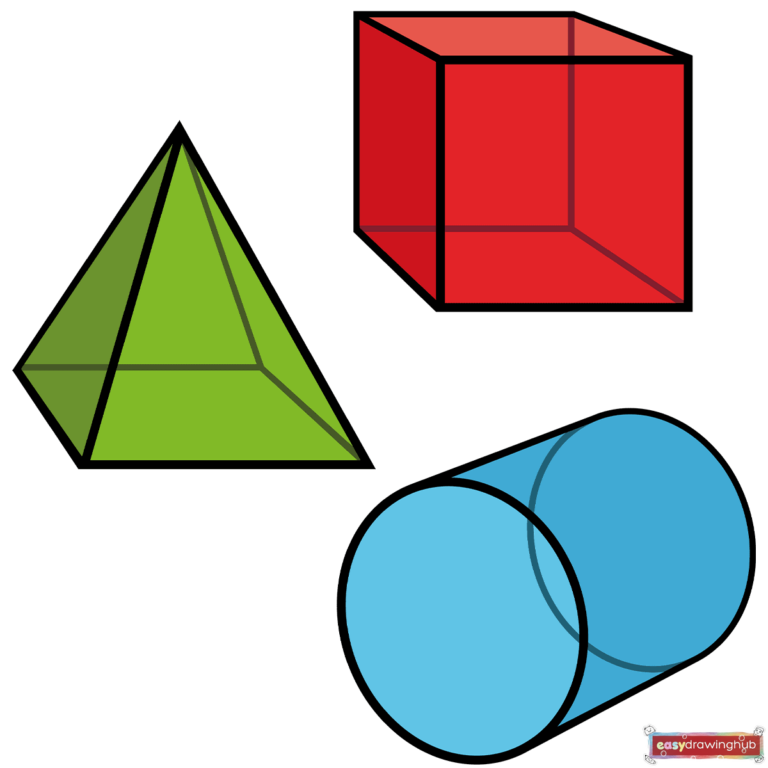
Ready to make your artwork pop right off the page? Learning how to draw 3D shapes is the perfect way to add depth, volume, and realism to your everyday sketches! Whether you are a beginner learning basic proportions or a parent looking for a fun educational activity for kids, this easy step-by-step tutorial will guide you through creating a cube, a triangular prism, and a cylinder. Grab your favorite pencil, a trusty eraser, and a blank canvas of paper. We will break down every outline, stroke, and shading technique so you can master these essential geometric forms in no time. Let's get started!
🎯 Final Result
Step-by-Step Instructions
Step 1: Sketching the Front Face of the Cube
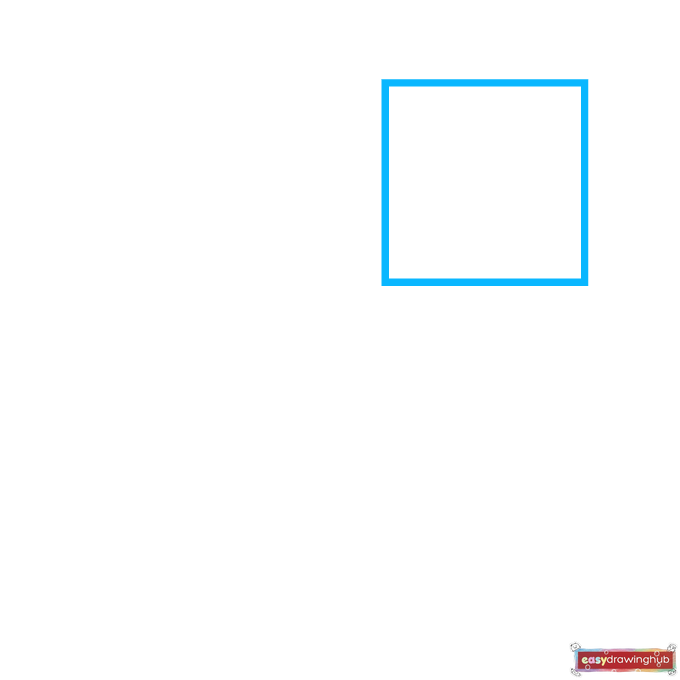
Begin your 3D shapes outline by drawing a simple, perfect square on the left side of your paper. Use four straight lines of equal length to form this shape. This basic square will serve as the flat front face of your 3D cube. Keep your pencil strokes light here so you can easily make adjustments later!
Step 2: Adding Depth with Diagonal Lines
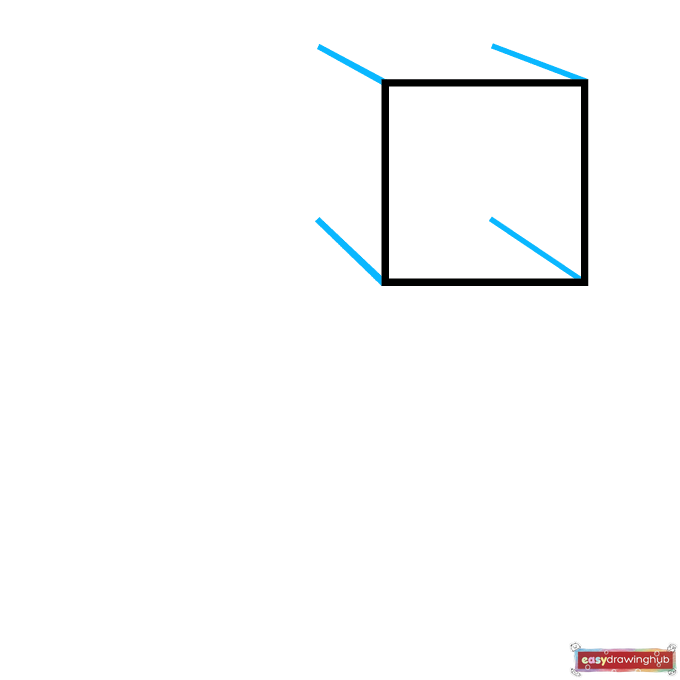
From each of the four corners of your square, draw a short diagonal line angling upwards and to the right. Make sure all four of these lines are parallel and the exact same length. These crucial strokes create the illusion of depth, outlining the top, bottom, and side edges of your cube.
Step 3: Completing the 3D Cube
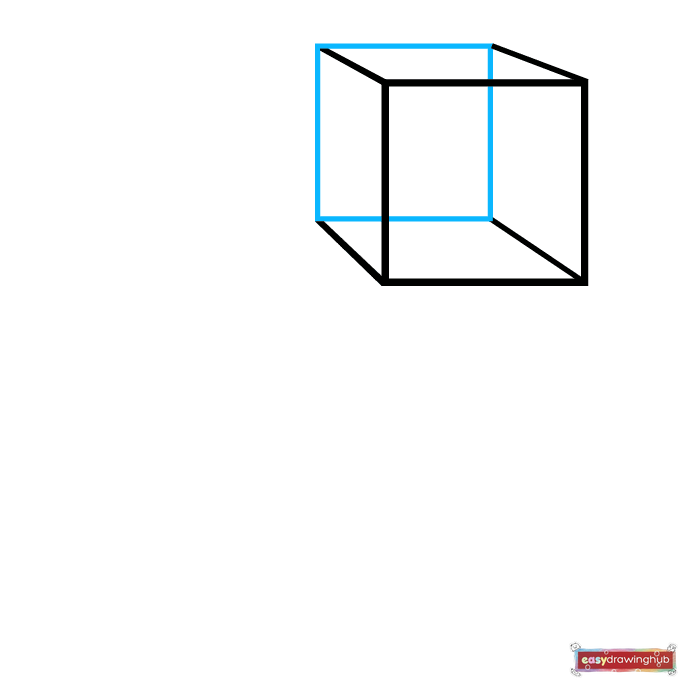
Connect the ends of your four diagonal lines by drawing another square. The corners of this new square should perfectly meet the tips of the lines you just drew. Great job, your three-dimensional cube is now fully outlined and complete!
Step 4: Starting the Triangular Prism
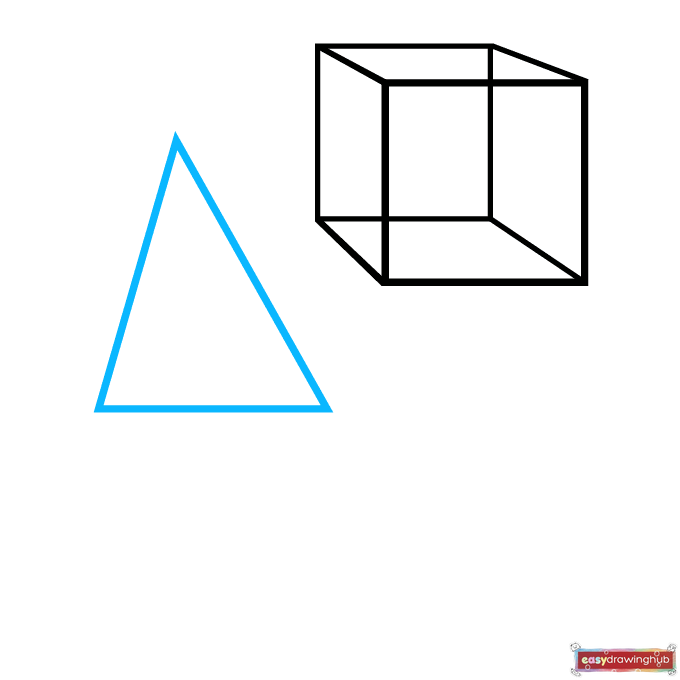
Next, let's move to the center of your paper to draw a triangular prism. Start by sketching a simple, upright triangle using three straight lines. This flat shape will act as the front-facing side of your pyramid-like structure.
Step 5: Extending the Prism's Base
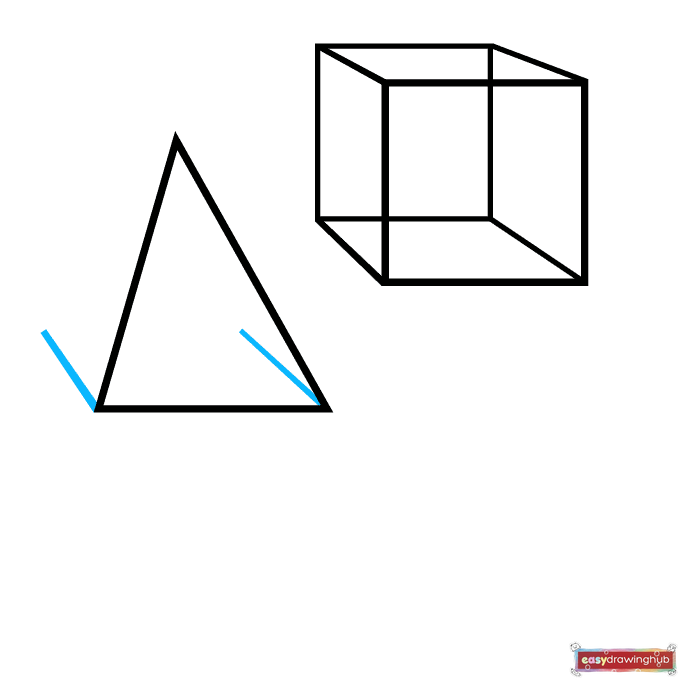
From the bottom two corners of your triangle, draw two straight horizontal lines extending to the right. The top line should angle slightly downward to match the perspective. These lines form the base and the side depth of your 3D pyramid shape.
Step 6: Finishing the Triangular Prism
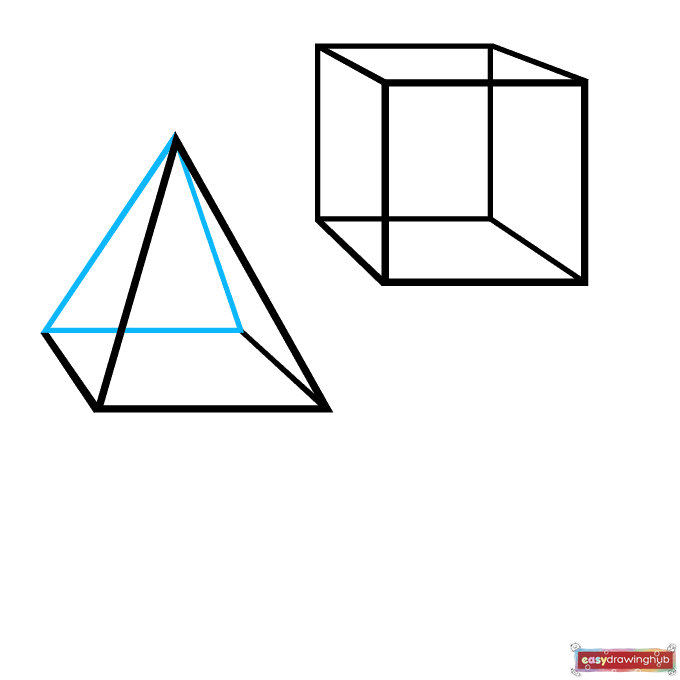
Draw a second triangle that connects the top point of your first triangle to the loose ends of the lines you drew in the previous step. This encloses the shape, completing your awesome three-dimensional triangular prism!
Step 7: Drawing the Top of the Cylinder
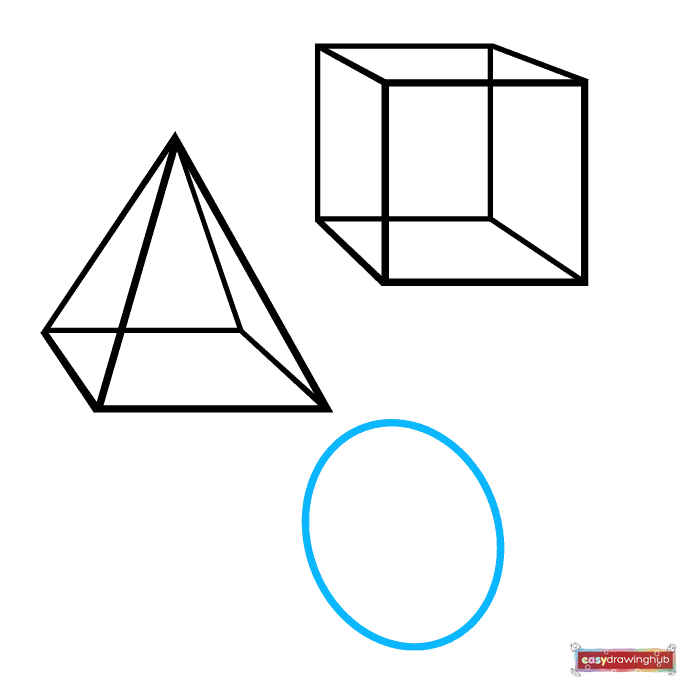
Now, let's create a cylinder on the right side of your paper. Start by drawing a smooth, even circle or oval. This curved shape will become the flat top end of your 3D cylinder. Take your time to make the curve as neat as possible.
Step 8: Outlining the Cylinder's Sides
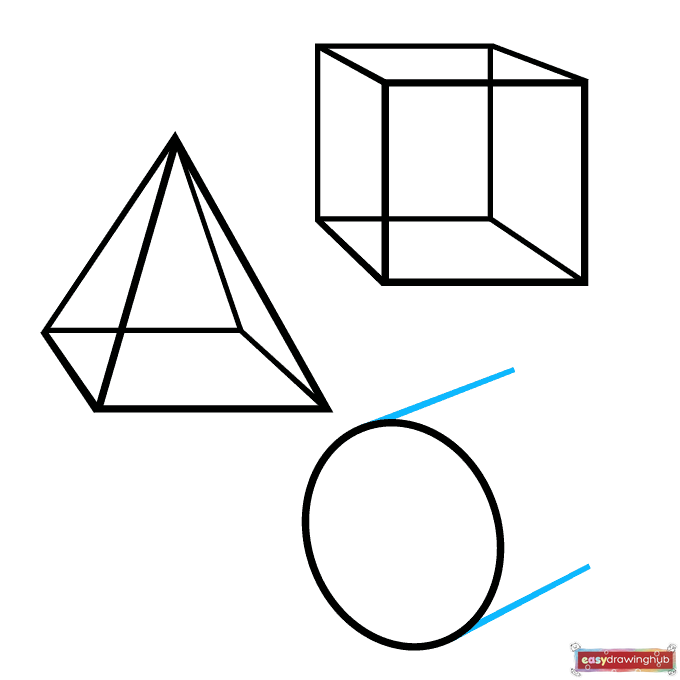
From the very top and bottom edges of your circle, draw two long, straight horizontal lines extending to the right. These parallel lines will form the smooth, curved sides of the cylinder's main body.
Step 9: Closing the Cylinder Shape
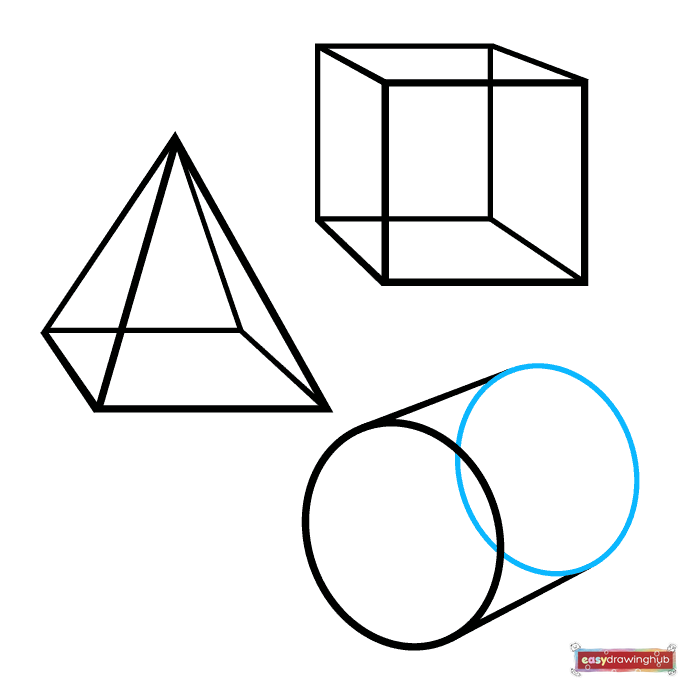
Draw another circle or oval at the end of your straight lines, making sure the top and bottom touch the ends perfectly. The left edge of this new circle can slightly overlap the lines to create a realistic 3D perspective. Your cylinder outline is done!
Step 10: Coloring and Shading Your 3D Shapes
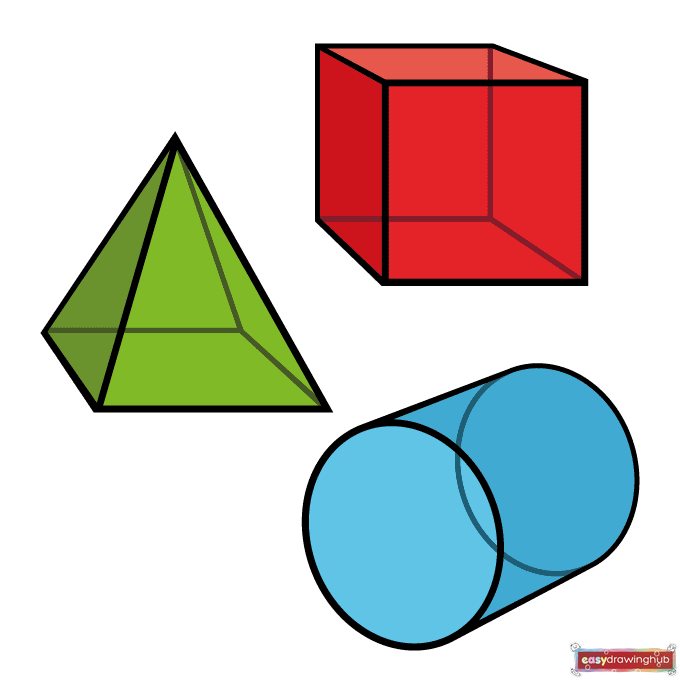
Your 3D shapes are completely drawn and ready for color! To make them truly pop, use different shades of the same color on each face. Add darker tones on the sides facing away from your imaginary light source, and lighter tones on the front to create realistic shadows and highlights.
More Tutorials