How to Draw 3D Stairs: Easy Step-by-Step Guide
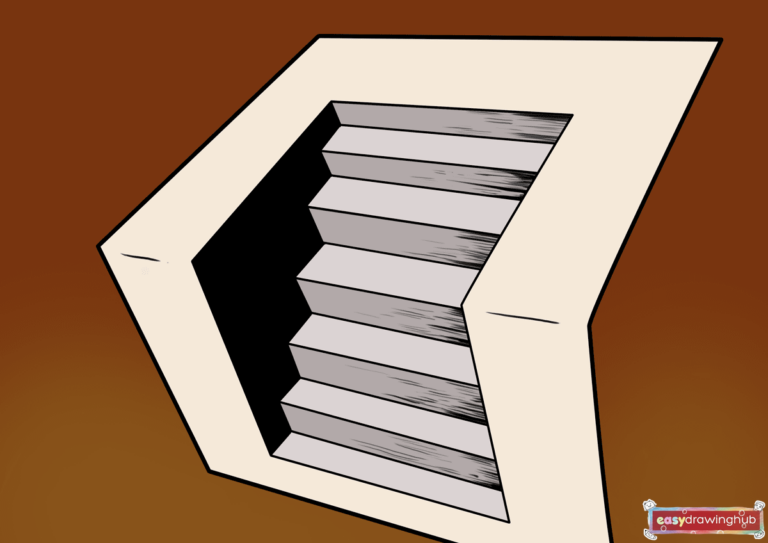
Have you ever wanted to create a mind-bending optical illusion right on your canvas? Learning how to draw 3D stairs is a fantastic way to practice perspective and depth! In this easy drawing tutorial, we will guide you through the simple process of sketching a realistic three-dimensional staircase. Grab your favorite pencil, an eraser, and a piece of paper. By following these beginner-friendly steps, you will master basic proportions, straight outlines, and clever shading techniques to make your drawing pop off the page. Let's get started on this fun art project!
🎯 Final Result
Step-by-Step Instructions
Step 1: Sketching the Outer Walls
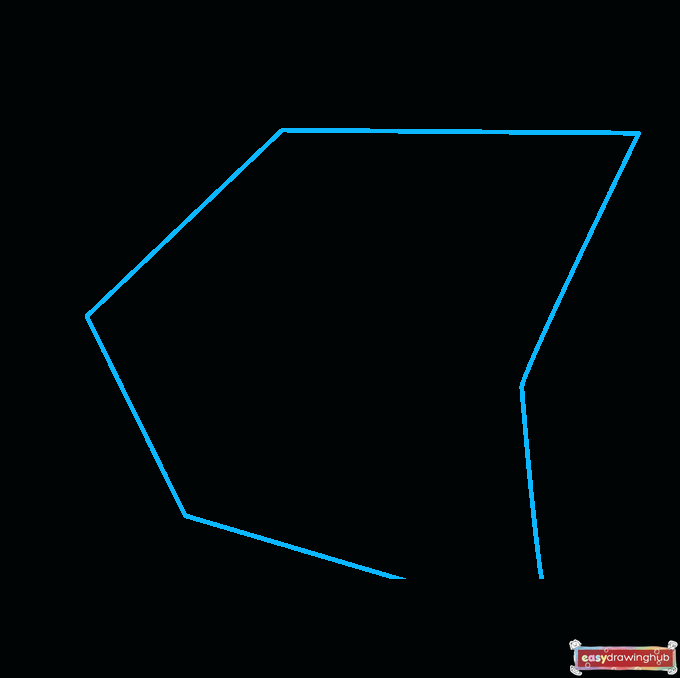
Begin by sketching the outer boundary of your 3D stairs. Draw six straight lines connecting to form an irregular, angled shape that looks a bit like an open book. Keep your pencil strokes light here so you can easily adjust the proportions if needed.
Step 2: Drawing the Inner Wall
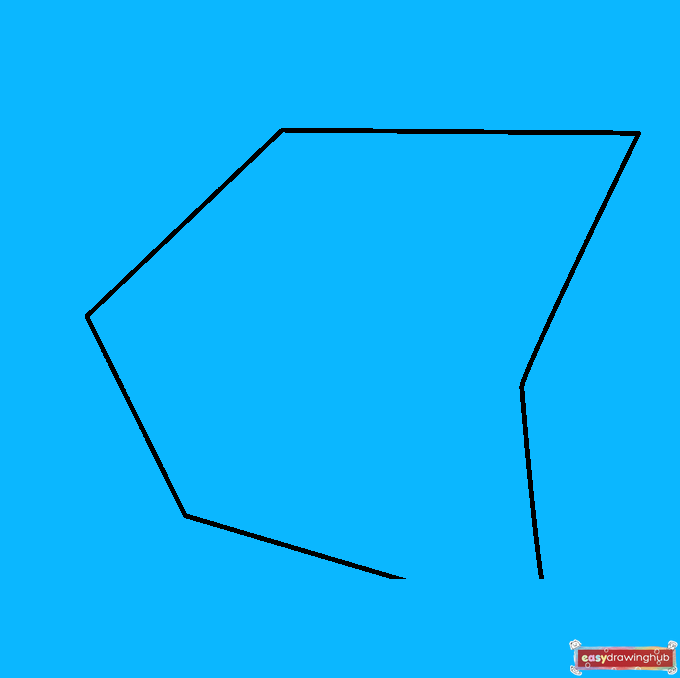
Next, mirror the shape you just drew by placing a smaller version of it directly inside the first outline. Use six more straight lines to enclose this inner figure. This creates the top surface and the basic framework for your optical illusion.
Step 3: Starting the Zigzag Steps
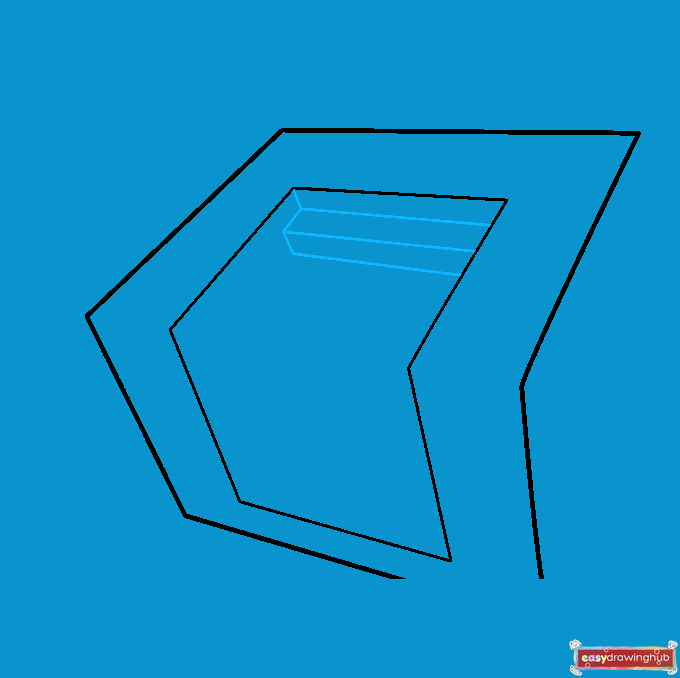
Now, let's start building the actual staircase inside the smaller shape. Draw a few straight, horizontal lines that run parallel to the top edge. Connect these horizontal lines using short, vertical strokes to form a crisp zigzag pattern.
Step 4: Extending the Staircase
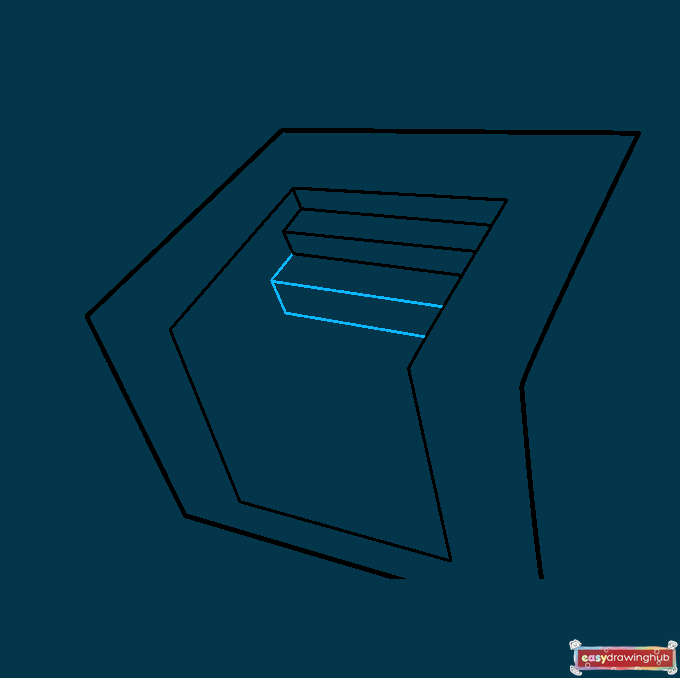
Continue building your steps by adding more straight, parallel lines moving downward. Connect the ends of these lines with short vertical strokes, just like you did in the previous step, to extend the zigzag pattern along the side.
Step 5: Adding the Middle Steps
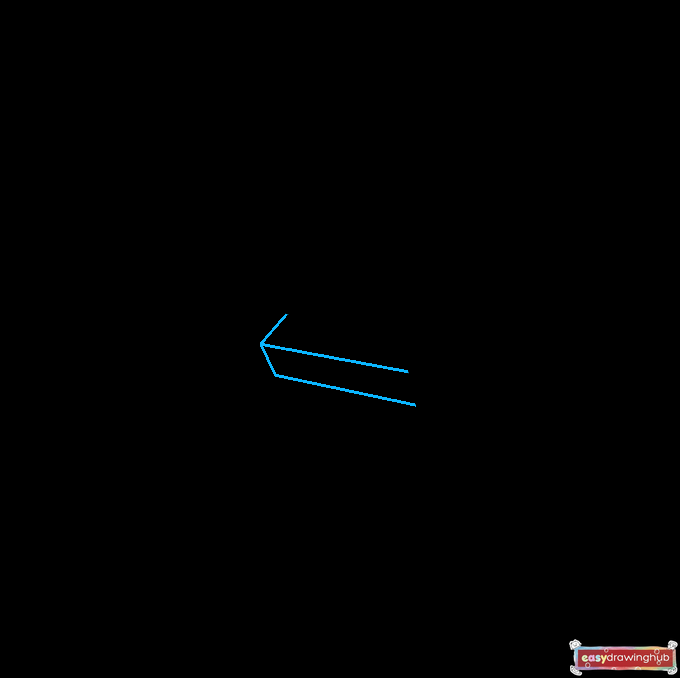
Draw the next step on your canvas using two more parallel lines. Connect them at the ends with short vertical lines. If you want your steps to look perfectly crisp, using a ruler for these straight lines is a great micro-tip!
Step 6: Continuing the Downward Pattern
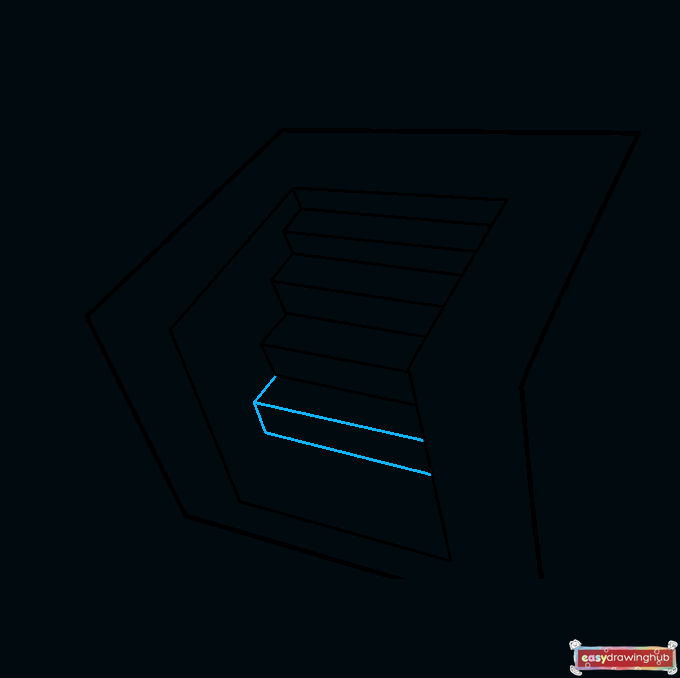
Keep the rhythm going! Draw another step below the last one using the exact same technique. Maintain even spacing between your parallel lines to ensure the proportions of your 3D stairs look realistic and balanced.
Step 7: Reaching the Bottom of the Stairs
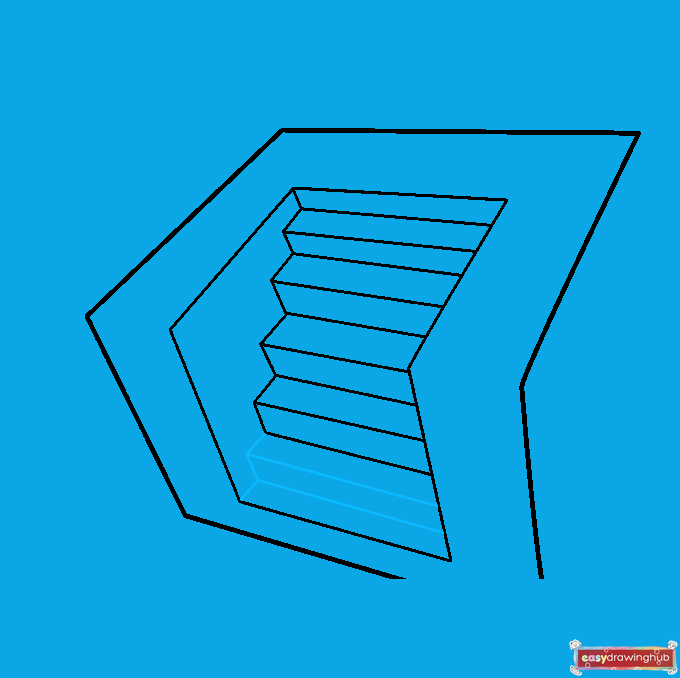
Finish the base outline of your steps by drawing the final parallel lines until you reach the bottom of the inner shape. Connect the ends with short vertical lines to complete the basic structure of your staircase.
Step 8: Shading the Left Wall

Now it's time to bring your drawing to life with shading! Use your pencil to smoothly shade the entire inner wall on the left side of the steps. This dark contrast is the secret to creating a deep, three-dimensional appearance.
Step 9: Adding Shadows and Depth
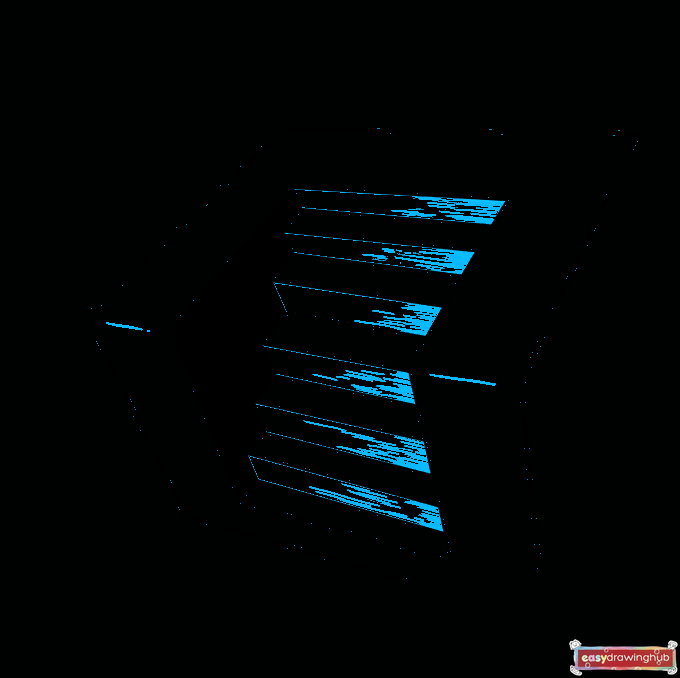
To complete the 3D illusion, lightly shade the front-facing vertical part of each step. Then, draw narrowly spaced horizontal lines extending from the right side of the stairs to mimic cast shadows. Add a tiny straight line at the corner of each wall to define the sharp right angles.
Step 10: Coloring Your 3D Stairs
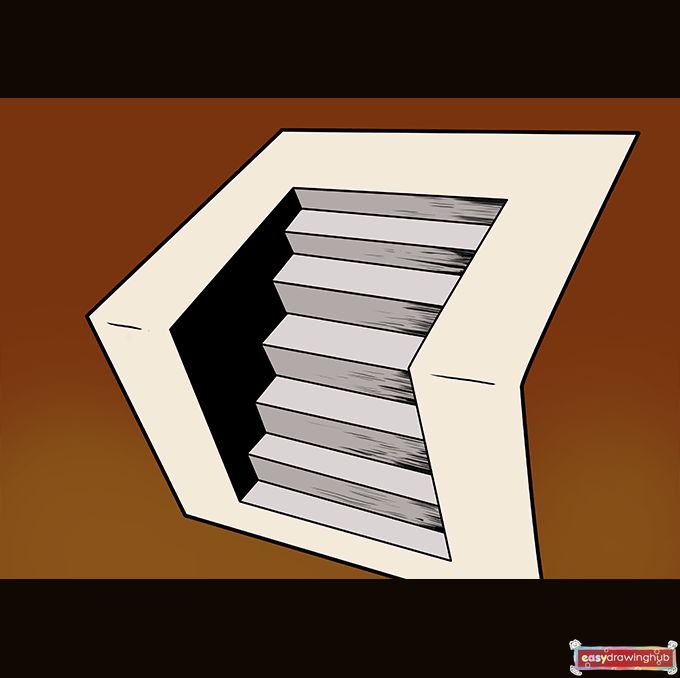
Grab your favorite markers, crayons, or colored pencils to finish your artwork! You can leave the steps white for a classic sketch look, or add vibrant colors to the walls to make your 3D stairs truly pop off the page.
More Tutorials