How to Draw a 3D Cross: Easy Step-by-Step Guide
Want to learn how to draw a 3D cross that pops right off the page? Whether you are creating a handmade Easter card, practicing your perspective drawing skills, or just looking for a fun new sketch, this easy drawing guide is perfect for you! In this tutorial, we will break down the process into simple, bite-sized steps using basic lines and proportions. Grab your favorite pencil, a trusty eraser, and a blank canvas or sheet of paper, and let's start outlining!
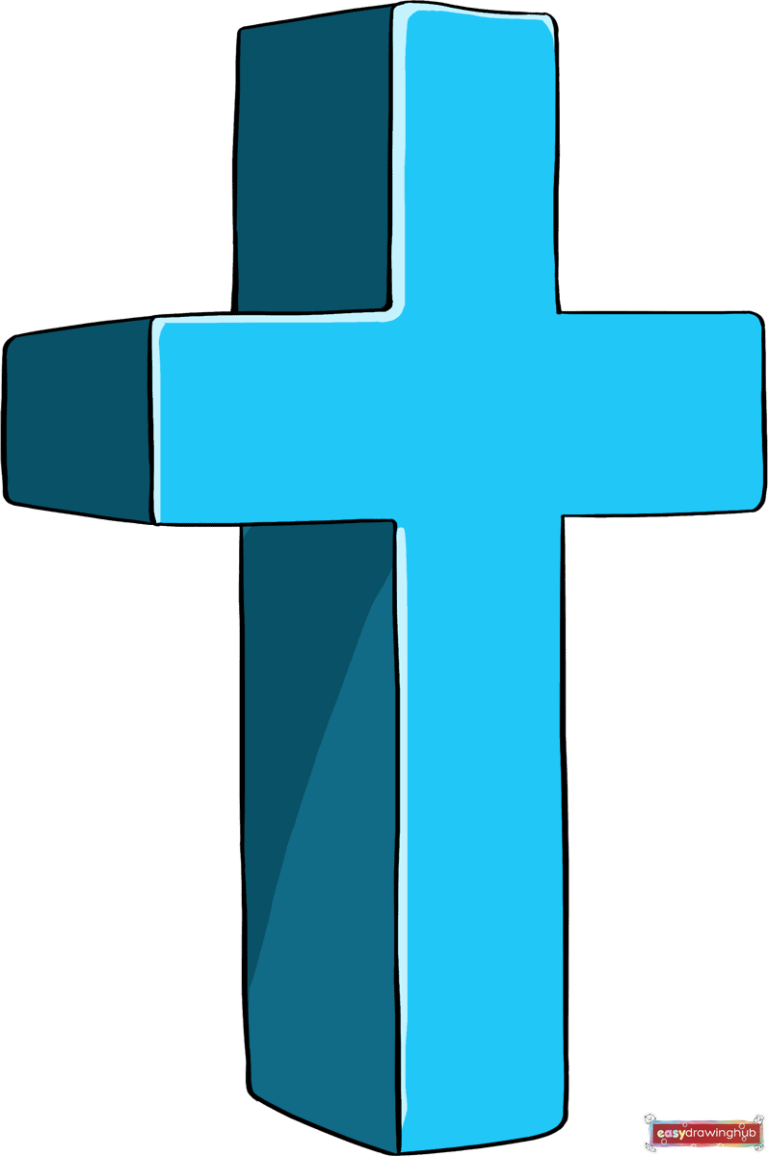
🎯 Final Result
Step-by-Step Instructions
Step 1: Sketching the Top Arm
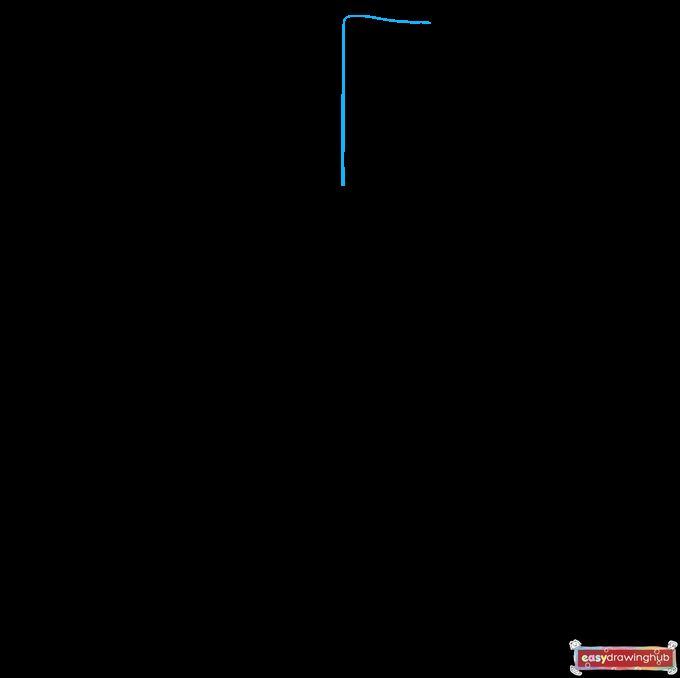
Start by drawing a large, upside-down letter 'L' near the top center of your paper. Keep your pencil strokes light, as this will form the very top section of your cross's front face.
Step 2: Forming the Right Arm
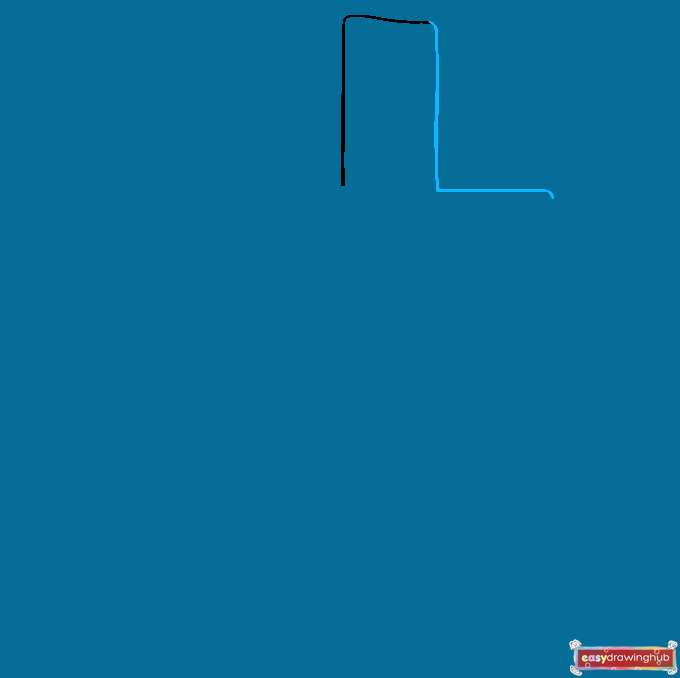
Right next to your first shape, draw a regular 'L' shaped line. Make sure the top of this line aligns perfectly with your first shape. This completes the front of the upper arm and starts the top edge of the right arm.
Step 3: Completing the Right Arm
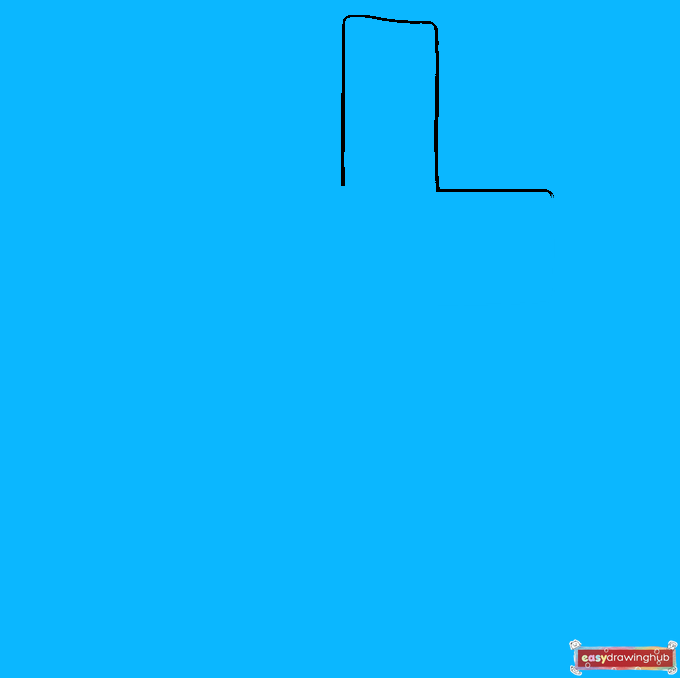
Now, draw a backward 'L' shape connecting to the bottom of the line you just drew. This step closes off the right arm of the cross. Pay close attention to the proportions to keep the arms looking even!
Step 4: Outlining the Bottom Section
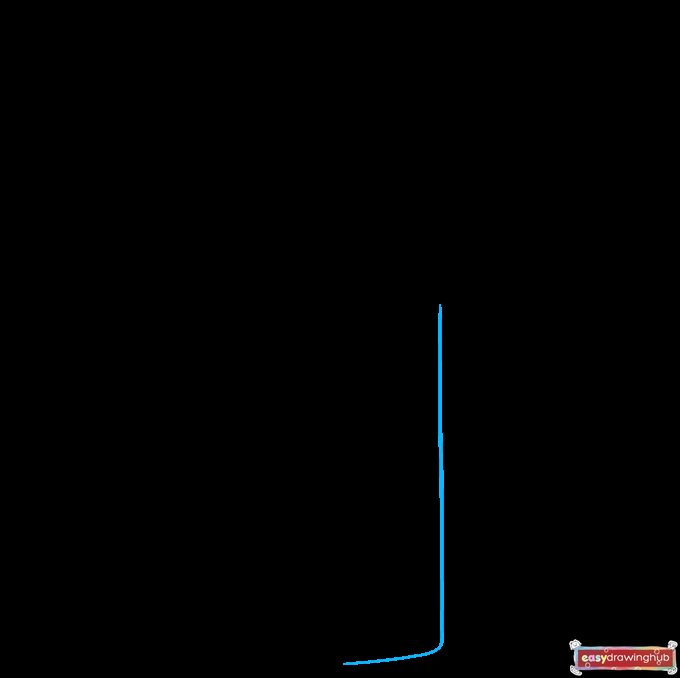
Extend your drawing downward by adding another backward 'L' shaped line. This long vertical stroke will serve as the right side of the cross's base. Leave plenty of room at the bottom of your canvas.
Step 5: Shaping the Left Arm
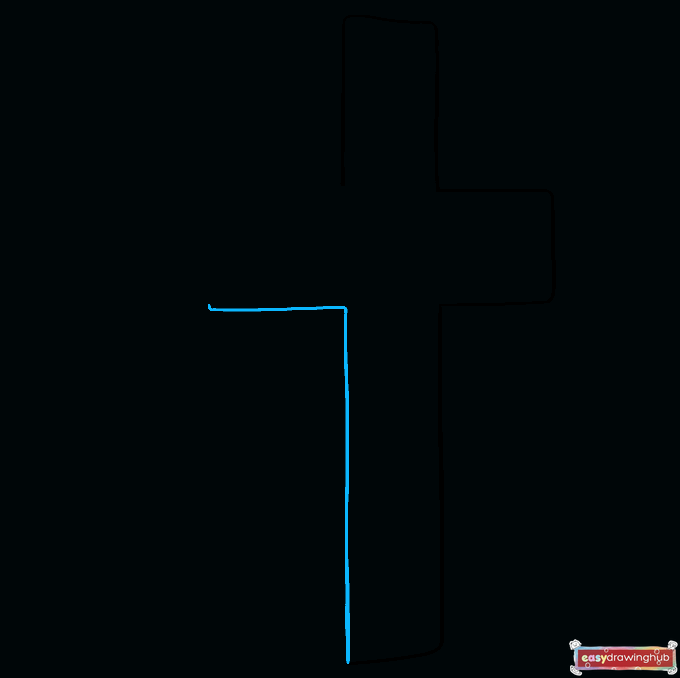
Draw an upside-down 'L' shape starting from the bottom point. This line will travel up to form the left side of the base and then jut out to create the bottom edge of the left arm.
Step 6: Finishing the Front Face
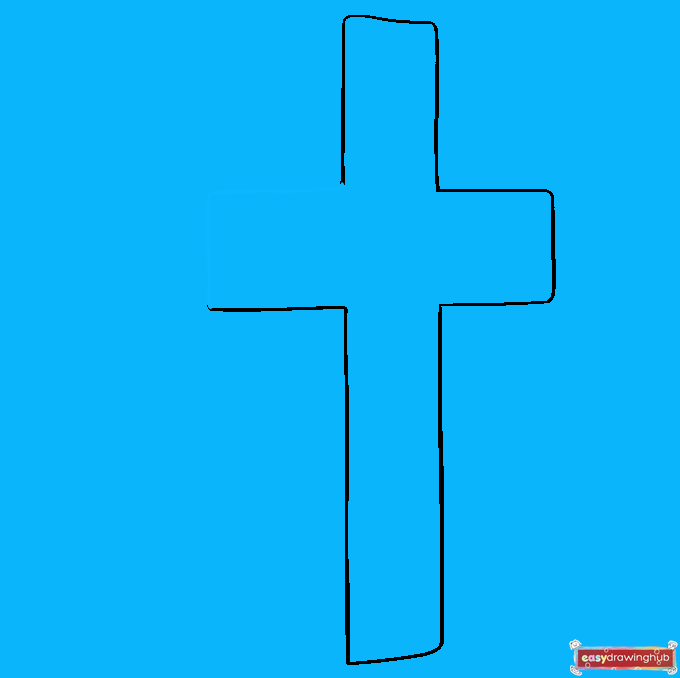
Close the main outline by drawing a sideways 'L' shape. This connects the left arm back to the very first line you drew at the top. You now have a perfect 2D cross ready for some 3D magic!
Step 7: Adding the First 3D Angle
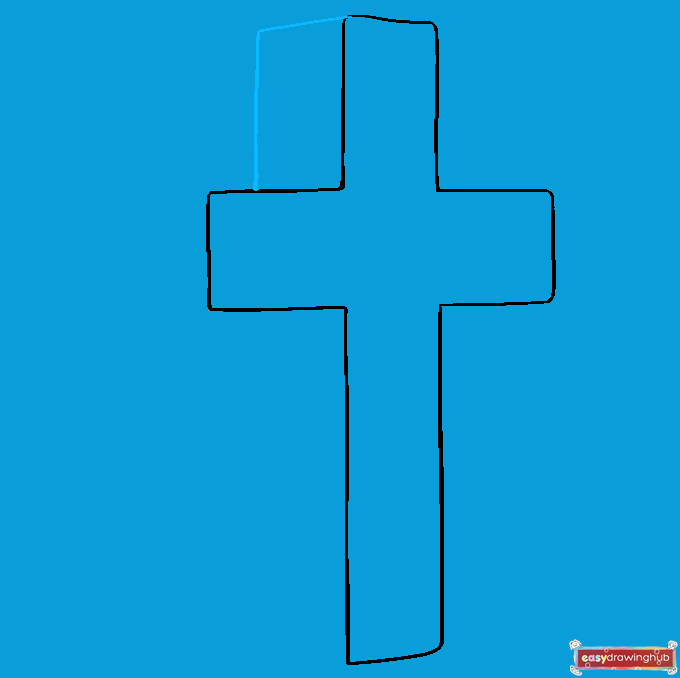
Let's make it pop! Draw an upside-down 'L' shaped line connecting the top-left corner of the cross to the top edge of the left arm. This angled line creates the illusion of depth for the upper section.
Step 8: Building the Left Side Depth
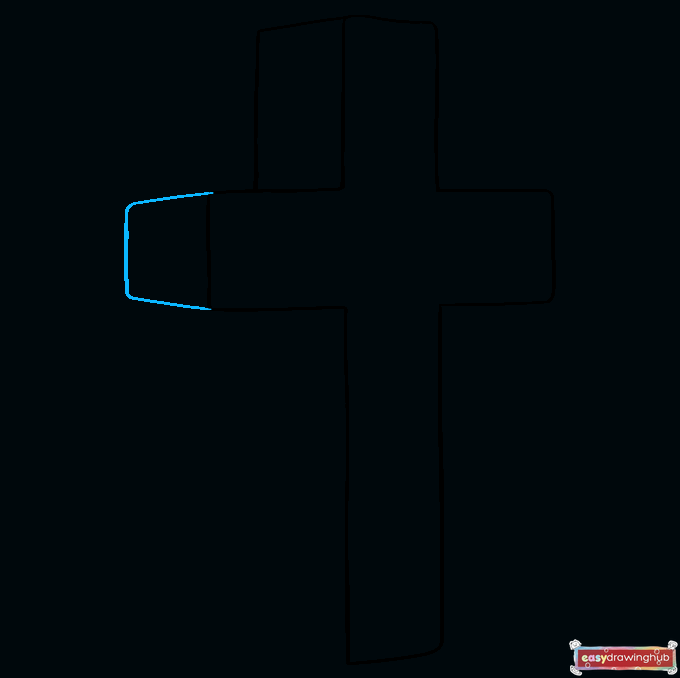
At the far tip of the left arm, draw three short lines to form a small, angled trapezoid. This encloses the side of the left arm, making it look like a solid, three-dimensional block.
Step 9: Completing the 3D Outline
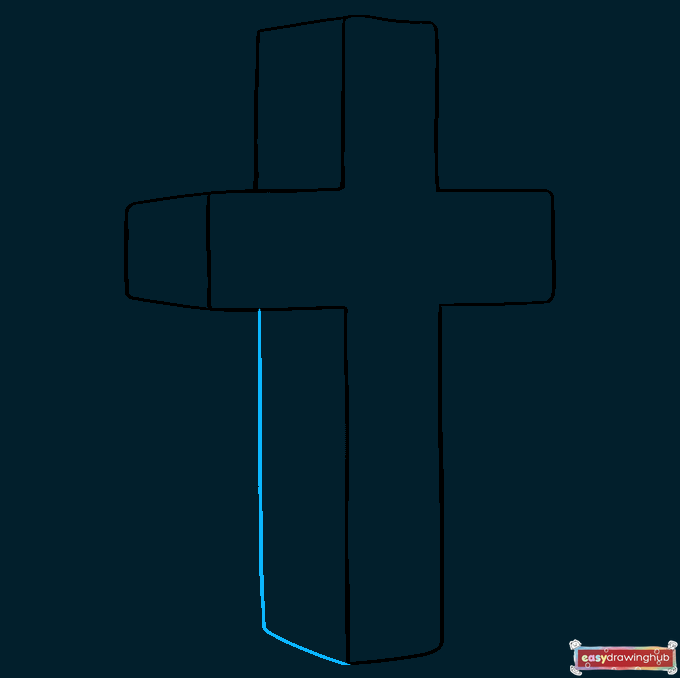
Draw one final 'L' shaped line connecting the bottom corner of the left arm down to the bottom-left corner of the cross's base. Your 3D structure is now fully outlined and ready for details!
Step 10: Coloring and Shading Your Cross

Grab your coloring supplies! To make the 3D effect truly stand out, color the front face of the cross with a lighter shade, and use a darker shade for the side panels. This simple shading trick creates realistic shadows.
More Tutorials