How to Draw a 3D Hole: Easy Step-by-Step Guide
Have you ever wanted to trick your friends' eyes with a cool optical illusion? Learning how to draw a 3D hole is the perfect way to make your flat paper look like it has a deep, mysterious drop right in the middle! In this easy drawing guide, we will walk you through the simple steps to create a mind-bending 3D effect. Grab your favorite pencil, an eraser, a dark marker for outlining, and a blank canvas of paper. By mastering basic proportions, shading, and straight lines, you will build an incredible 3D sketch that pops off the page. Let's get started on this fun art adventure!
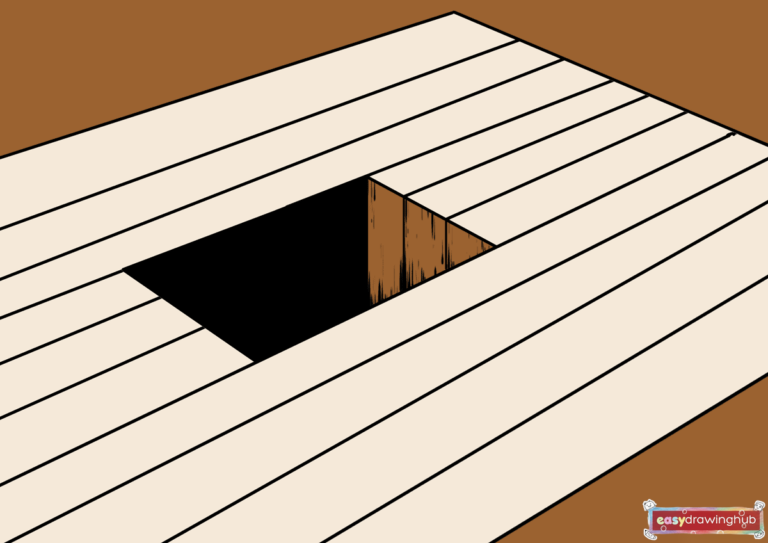
🎯 Final Result
Step-by-Step Instructions
Step 1: Sketching the Back Corner Angle

Start by sketching two straight lines that connect at an upward peak, similar to the top of a triangle. Ensure that the left line extends a bit further than the right one. These initial pencil strokes will establish the back corner of your room where the walls intersect with the floor.
Step 2: Drawing the First Floorboards
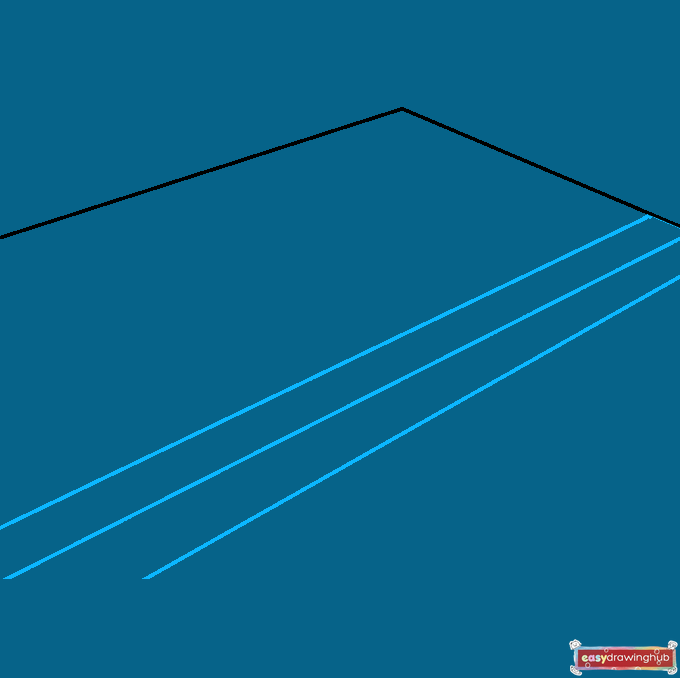
Working from the shorter right-side line, sketch several diagonal lines angling downwards across your canvas. It is important to keep these strokes perfectly parallel to the longer left line. This technique forms the basic outline for your wooden floorboards, adding instant realistic texture to your drawing.
Step 3: Outlining the 3D Hole's Edge
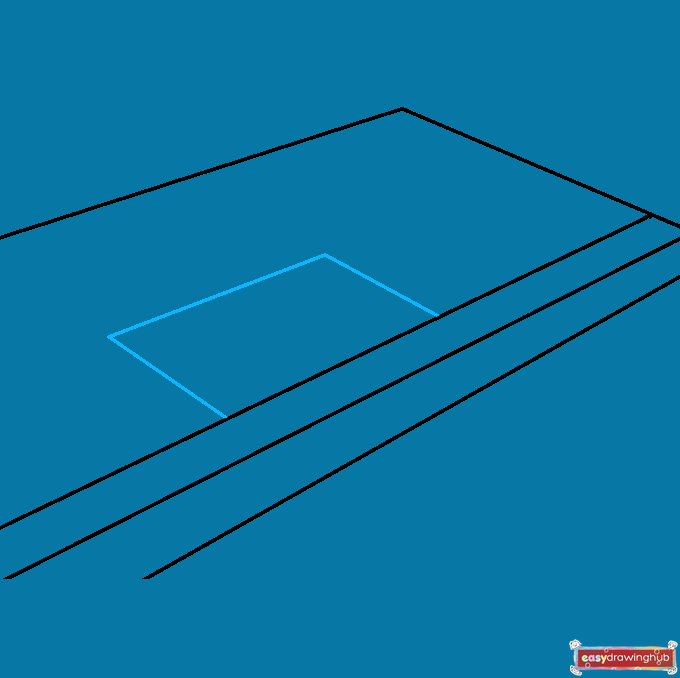
Next, use three short, intersecting lines to box out a rectangular shape along the edge of one of your floorboards. Make sure the corners meet at sharp right angles. This geometric cutout will serve as the dramatic opening for your deep 3D drop.
Step 4: Extending the Floor Pattern
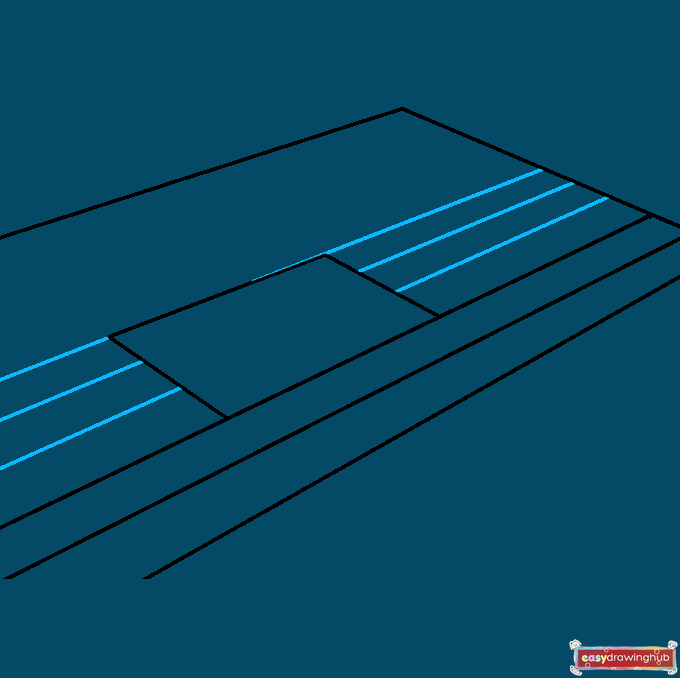
Keep building the room's foundation by adding more parallel diagonal lines across the remaining floor space. As you draw, carefully skip over the rectangular cutout, leaving its center completely empty. Using a ruler here is a great micro-tip to ensure your proportions remain neat and accurate.
Step 5: Completing the Wooden Floor Texture
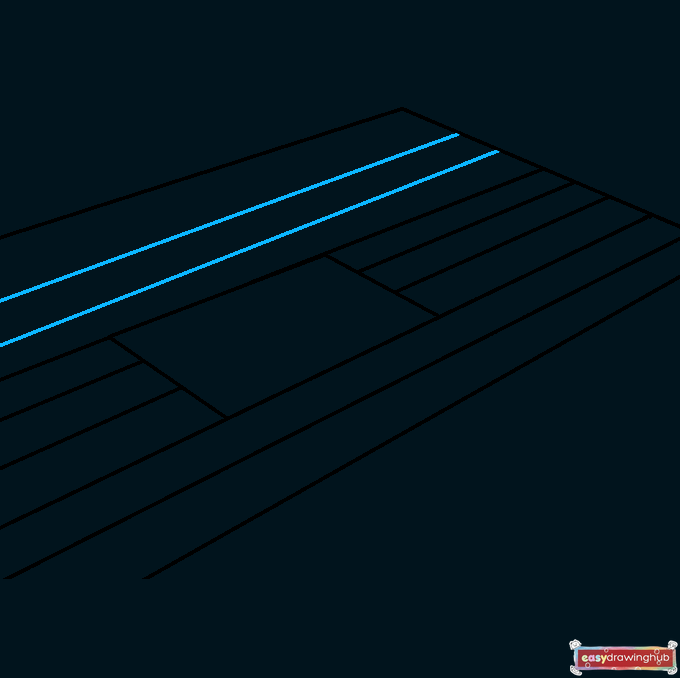
Proceed with your straight, parallel strokes until the entire lower half of your paper is filled with wooden planks. Try to maintain an even distance between each line for a uniform look. This consistent repeating pattern is the ultimate secret to selling the optical illusion!
Step 6: Creating the Inner Depth of the Hole

Now, sketch straight vertical lines dropping directly down from the top inner edge of your rectangular cutout. Carefully align the spacing of these vertical drops to match the floorboards directly above them. This essential step instantly transforms a flat shape into a three-dimensional space by revealing the inner wall.
Step 7: Shading the Deepest Part of the Drop

Grab your pencil or a thick black marker to completely fill in the lowest section of the pit. Press down firmly to make this area as dark and solid as possible, representing a deep, endless shadow. Creating this heavy, dark contrast is exactly what makes the 3D effect pop off the page.
Step 8: Adding Shadow Gradients to the Walls
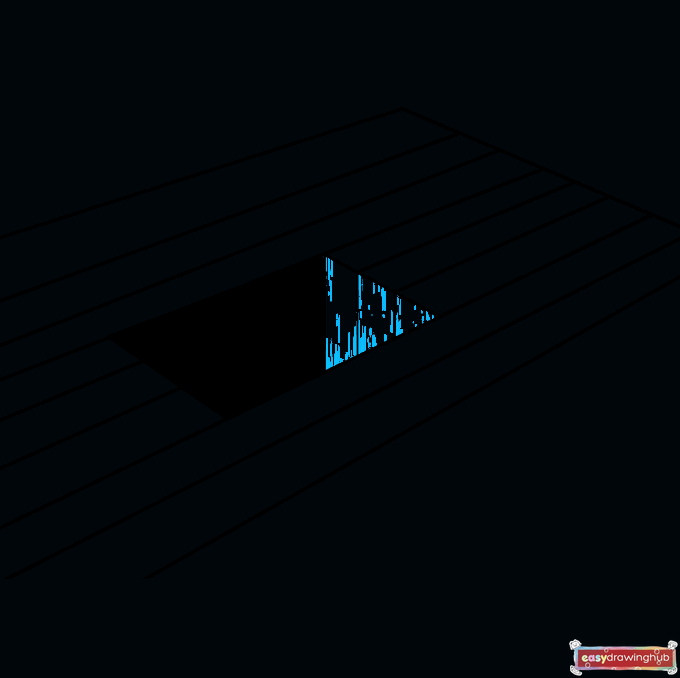
Bring realistic texture to the inner vertical walls by applying a gradient shading technique. Sketch quick, short lines of different lengths reaching down from the top rim and extending up from the pitch-black bottom. This clever blending method bridges the light and dark areas, giving the pit incredible depth.
Step 9: Expanding the Room's Perspective
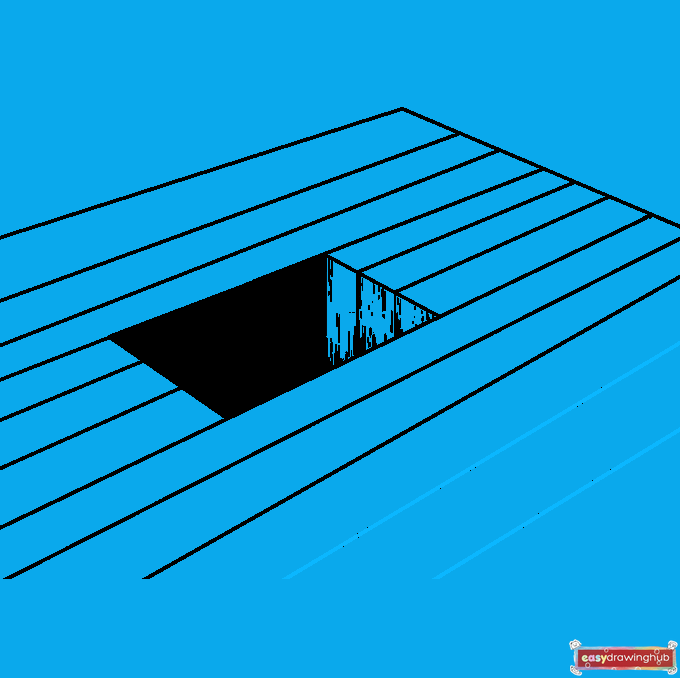
To expand your artwork, simply extend your parallel floorboard lines outward toward the edges of your canvas. You have the freedom to make the surrounding room as massive as you desire! Just double-check your overall outline to guarantee the perspective remains consistent.
Step 10: Coloring Your 3D Hole Illusion
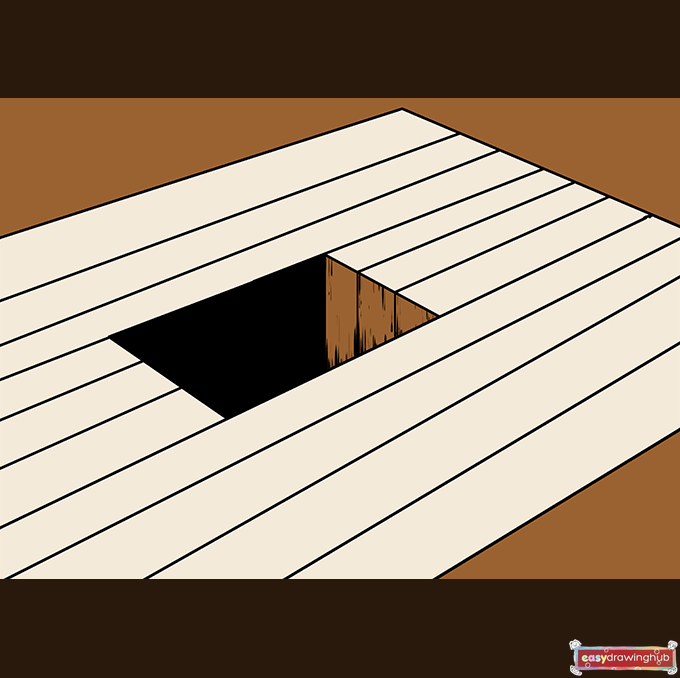
It is finally time to bring your mind-bending optical illusion to life with vibrant colors! Grab your favorite markers or colored pencils and shade the floorboards with warm brown tones to simulate real hardwood. For an extra creative twist, try drawing a cute character or a dropped toy tumbling into the mysterious pit.
More Tutorials