How to Draw a Magic Carpet Ride
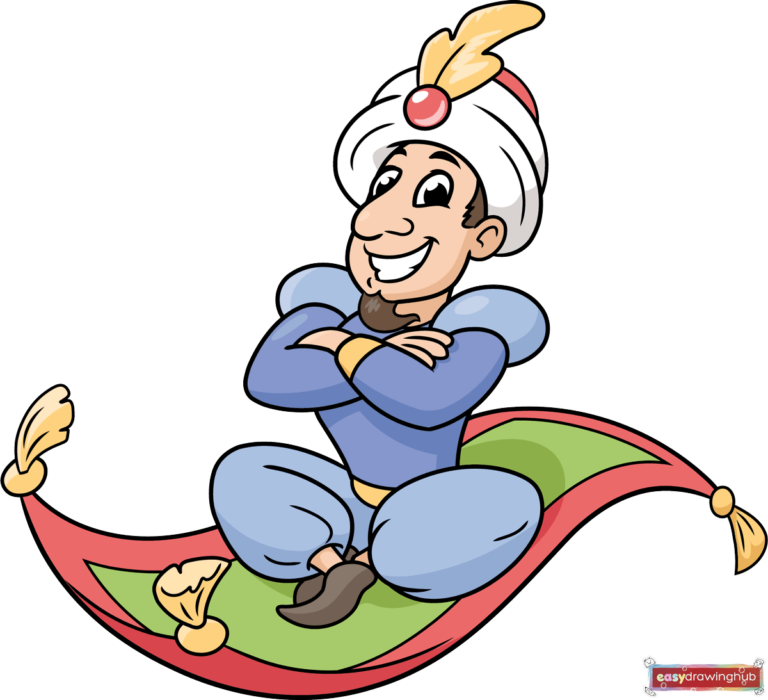
Learn how to draw a great lookingMagic Carpet Ridewith easy drawing instructions and video tutorial. By following the simple steps, you too can easily draw a perfect Magic Carpet Ride.
🎯 Final Result
Step-by-Step Instructions
Step 1
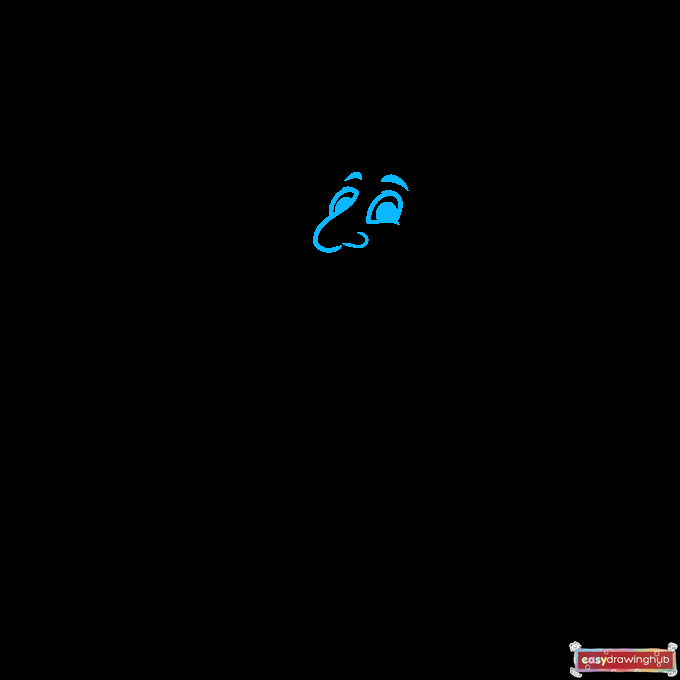
1. Start with a hook shape for the nose. Add two curves to the left and fill in the second curve, then make an upside-down U shape to the right. Draw a line underneath this shape, and fill in the pupil.nnUse dashes for the eyebrows. Sketch another hook to complete the nose.
Step 2
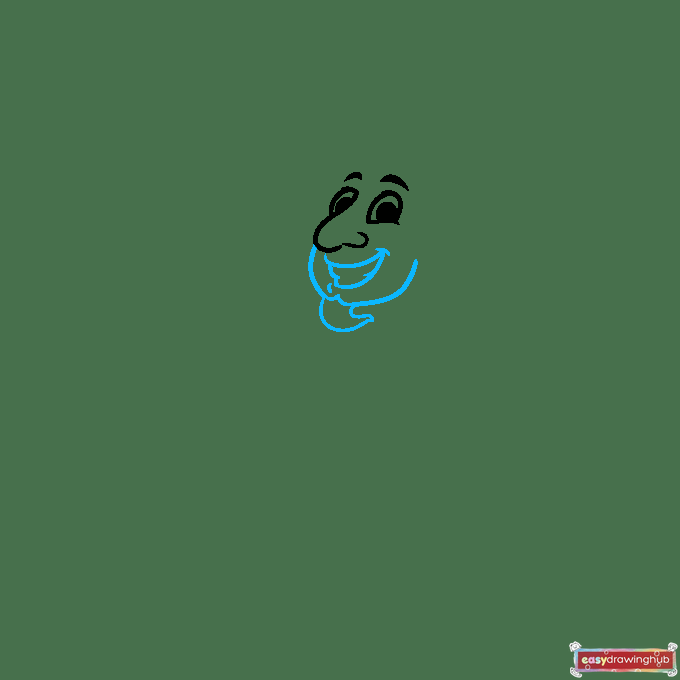
2. Underneath the nose, draw two curves that connect at the right to form an angle.nnUse short dashes for the teeth like you're drawing ananime smile.Sketch curves underneath the face for the chin, then use a wide curve and hook shape for thebeard.
Step 3

3. Draw a loop with a hook inside for the ear. Sketch a circle over the top of the magician's head, then use curved lines to make the turban. Add a jagged line next to the ear.
Step 4
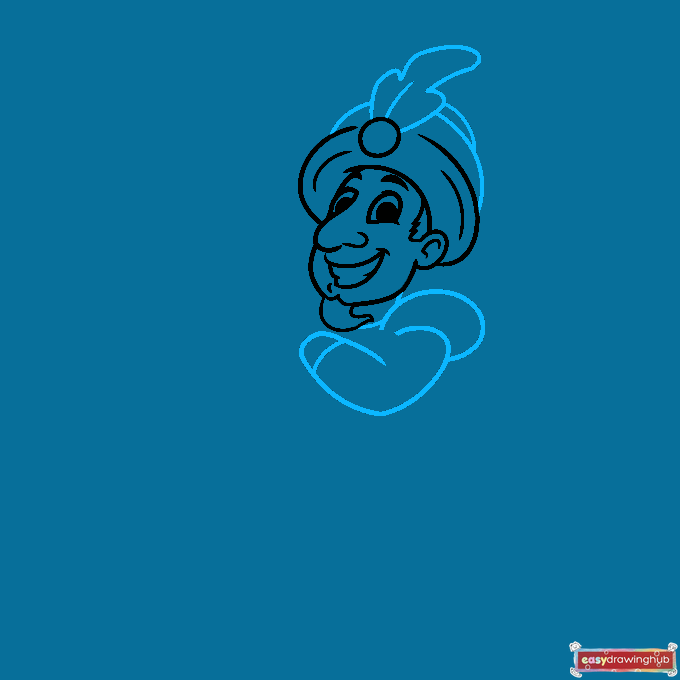
4. Sketch a vertical line that sticks out of the circle on the turban, then use tall curves for the feather. Draw curves behind the feather to complete the hat.nnFor the arm, draw a loose heart shape with an oval behind the shoulder. Sketch a line at the cuff of the sleeve.
Step 5
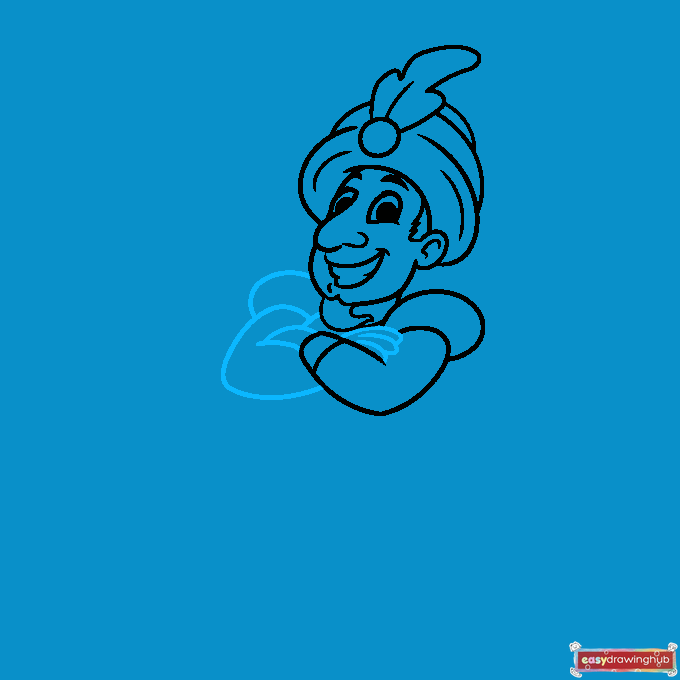
5. To the right, make another loose heart shape with curves and another oval behind the shoulder. Use sausage shapes for the fingers.
Step 6
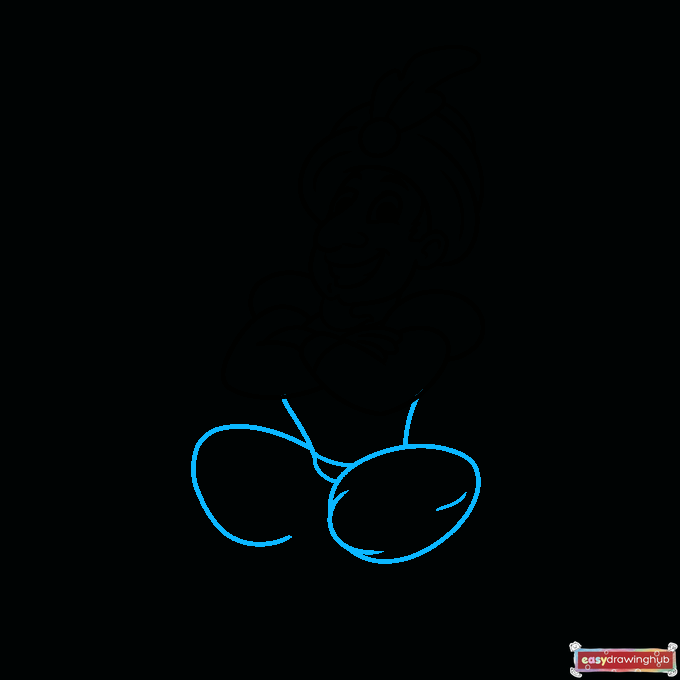
6. To start thepants, draw two oblong ovals like misshapen eggs. Sketch a curve and line inside the right oval, then use more curved lines to connect the legs to the body.
Step 7
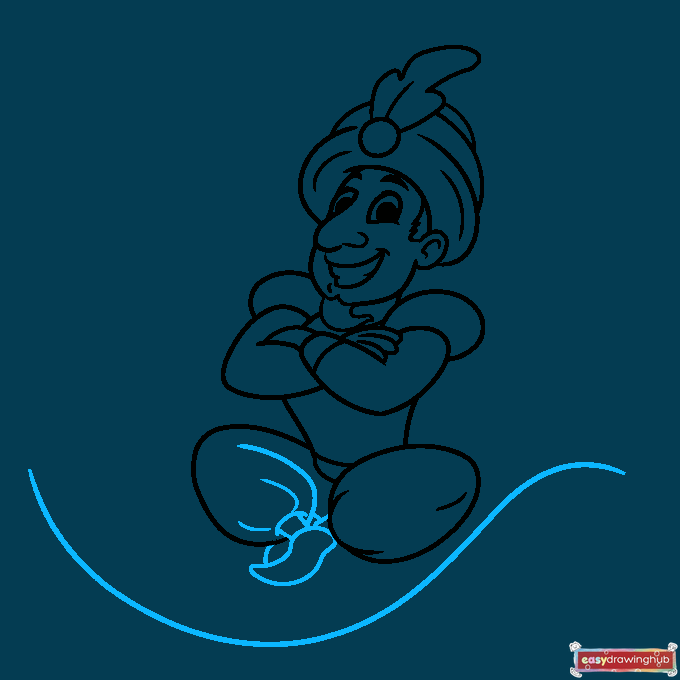
7. Complete the left leg with a curve that outlines the pants, then use wavy lines for the shoe and more curves for the puffy fabric.nnDraw straight lines for the ankle. Underneath the body, draw a long curved line like awave.
Step 8
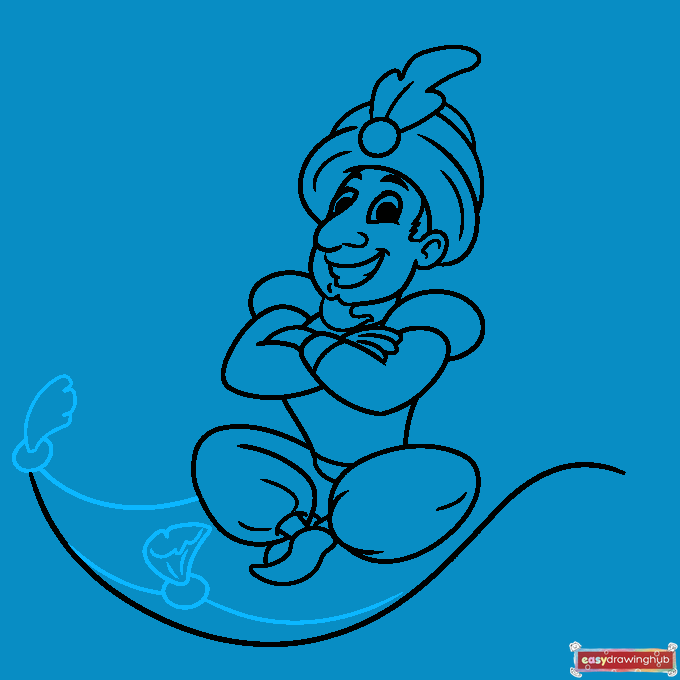
8. Sketch two more curves with ovals at the ends. On the left, draw a loose triangle with notches at the end. For the right, make a rounded triangle and sketch lines inside the shape.
Step 9
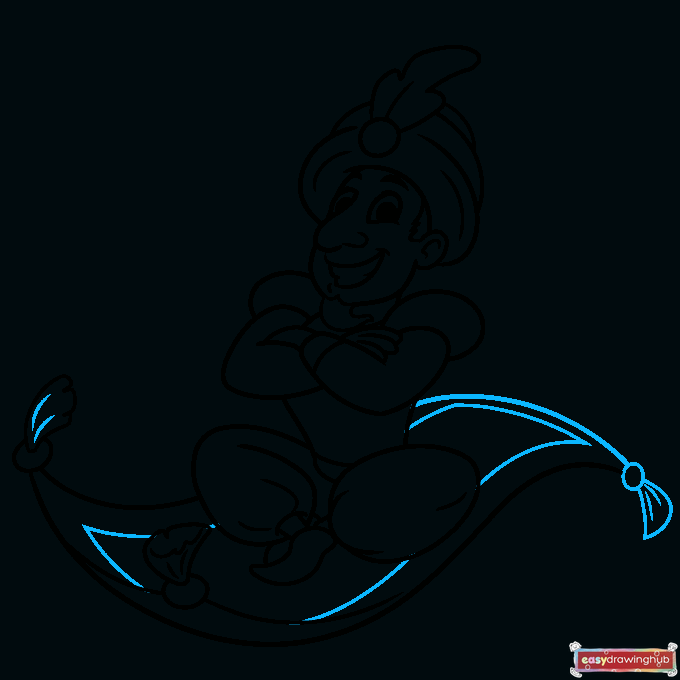
9. Draw a final curved line to complete the carpet, then sketch a square inside the carpet that runs parallel to the outside lines.nnAdd another oval and loose triangle on the right corner. Sketch lines inside this shape and the tassel to the left.
Step 10
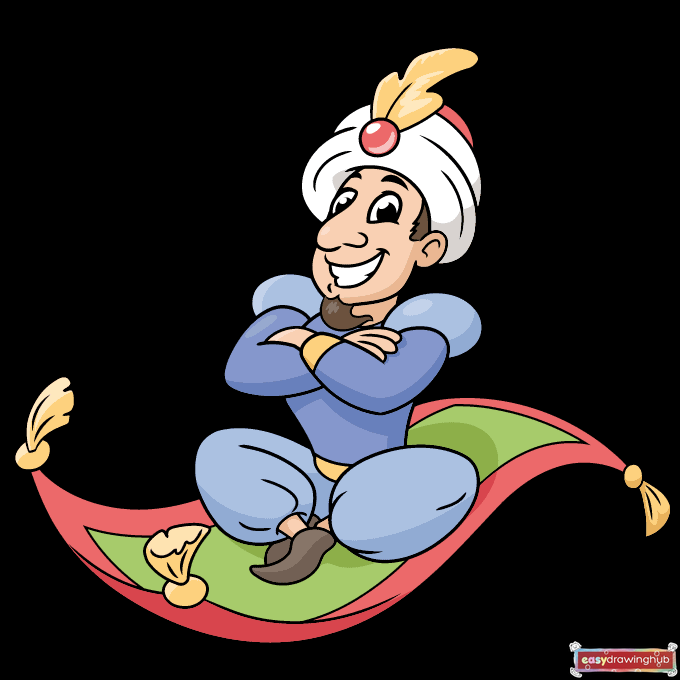
Outline your magic carpet ride with a black pen or marker to capture the cartoon style and make it easier to color your drawing.nnNow that you're done, color the outline with red, green and yellow for the magic carpet, blue for the magician'sshirtand pants, and yellow for the accents.nnGive the magician your favorite hair and skin colors. Keep the turban white with red and yellow for the decorations.
More Tutorials