How to Draw a Moth
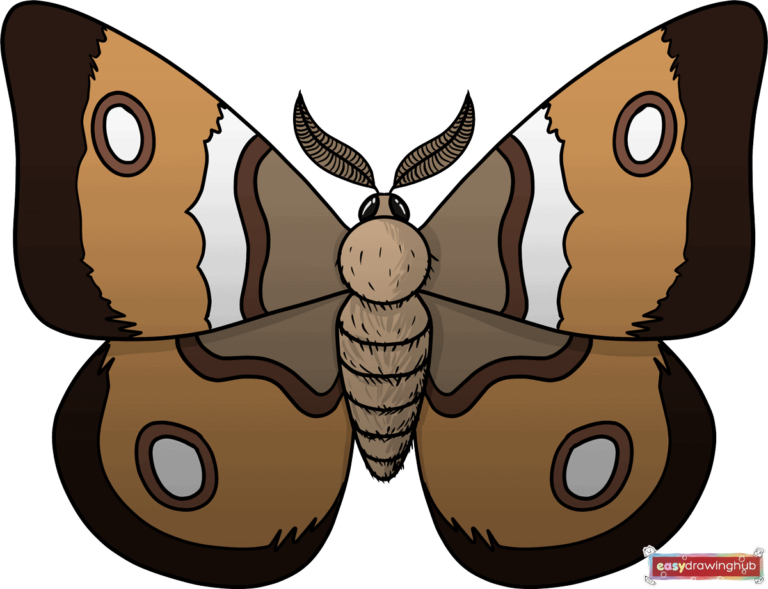
Learn how to draw a great lookingMothwith easy drawing instructions and video tutorial. By following the simple steps, you too can easily draw a perfect Moth.
🎯 Final Result
Step-by-Step Instructions
Step 1

1. Begin by drawing a circle. This will form the moth's thorax, or midsection. From the thorax, extend a long curved line. Double it back upon itself to outline the abdomen.
Step 2
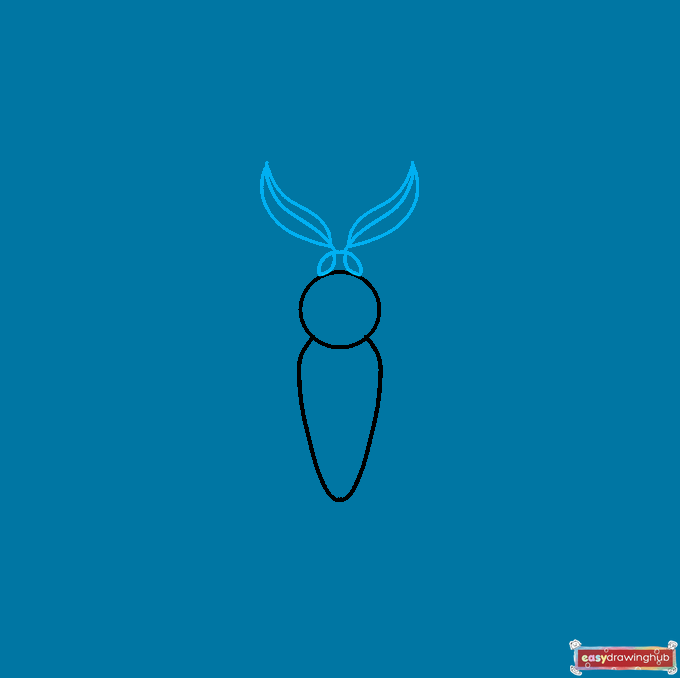
2. Outline a half circle on top of the thorax, forming the head. Draw two curved lines across it to outline the eyes.nnNext, draw two long curved lines from the head, forming the center of the antennae.nnDraw curved lines on each side of the antennae, meeting at a point at the end. This outlines the featherlike antennae, called bipectinate antennae.
Step 3
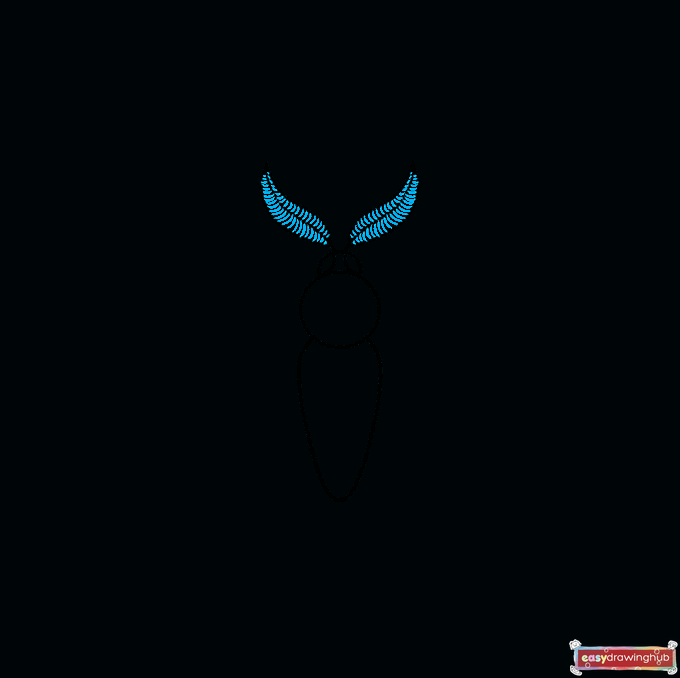
3. Draw curved lines between the centers of the antennae and the edges, completing the featherlike appearance.
Step 4
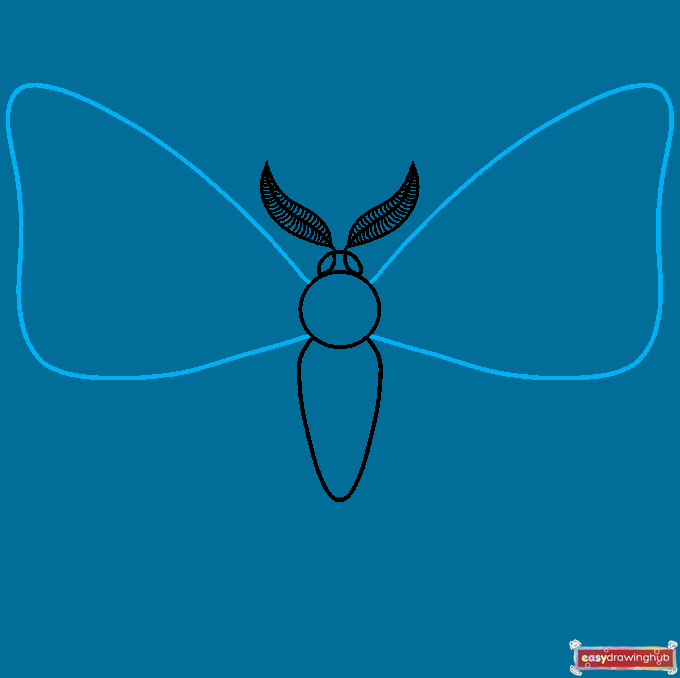
4. Extend a long curved line from the side of the thorax, and double it back upon itself to outline the forewing. Repeat this process to form a mirror image on the opposite side.
Step 5
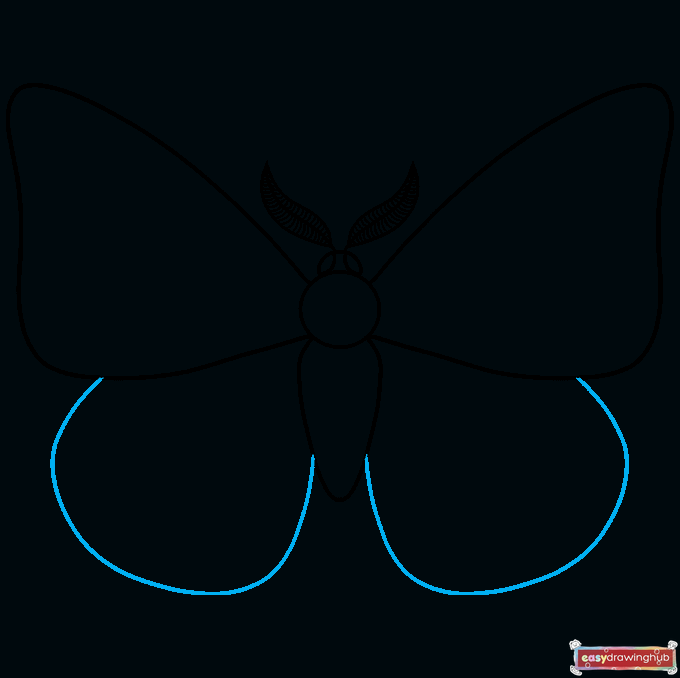
5. Outline the hindwings using long curved lines.
Step 6
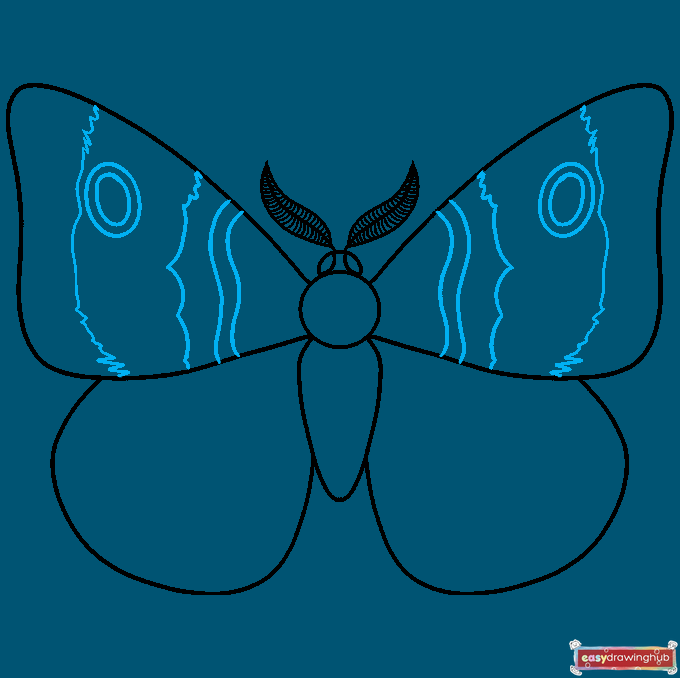
6. Begin detailing the forewings. Draw curved, wavy, and jagged lines across each wing.nnThen, draw an oval within an oval. These are called eyespots; they protect the moth by camouflaging him as the face of a bigger creature with large eyes.
Step 7
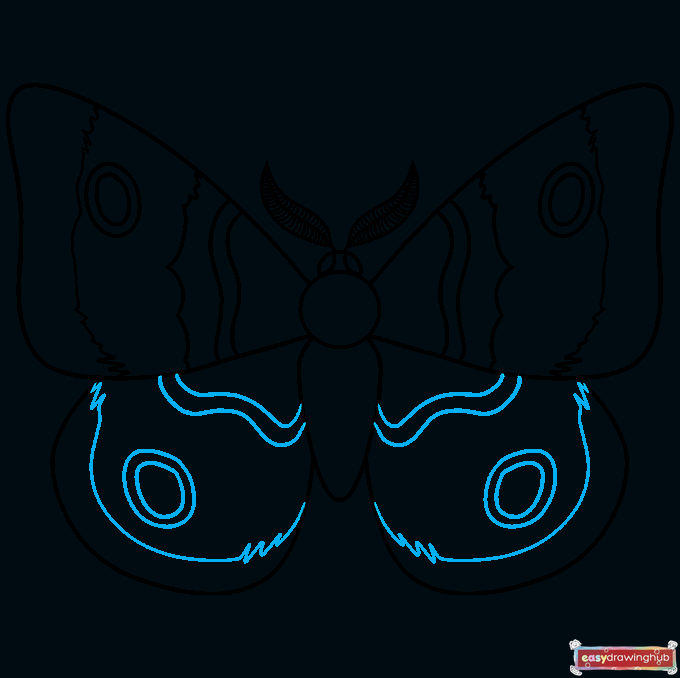
7. Detail the lower wings. Draw a pair of curved lines near the base of each wing, and a jagged series of lines near its edge. On each wing, draw an oval within an oval to form the eyespot.
Step 8
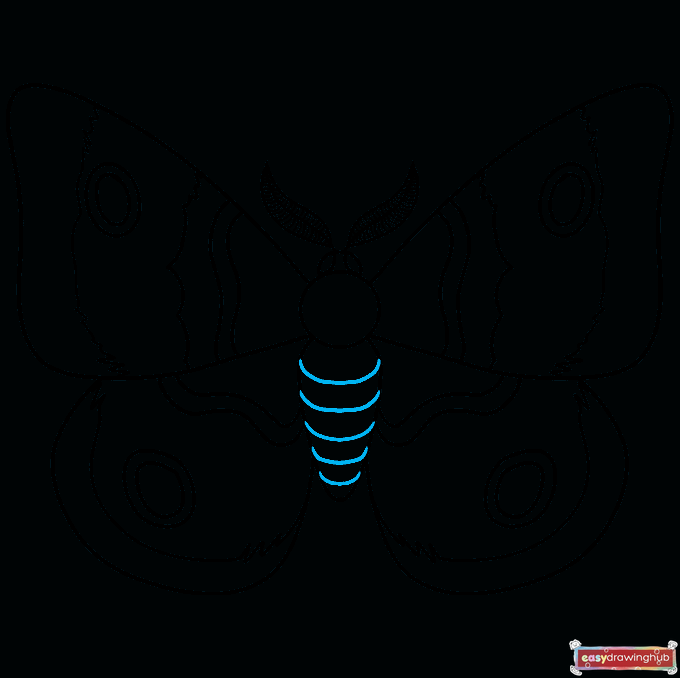
8. Texture the abdomen by drawing horizontal curved lines across it.
Step 9
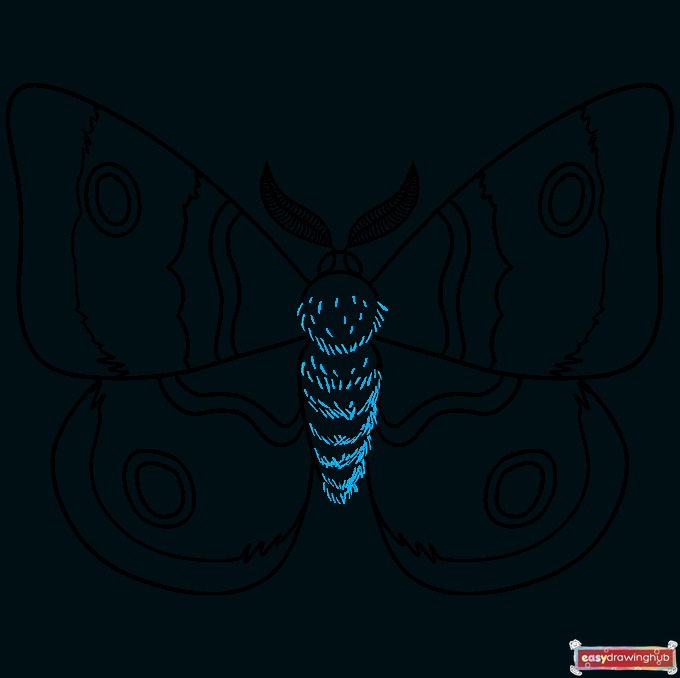
9. Moths have furry bodies. Texture your moth with short curved lines across the center and bottom of each segment.
Step 10
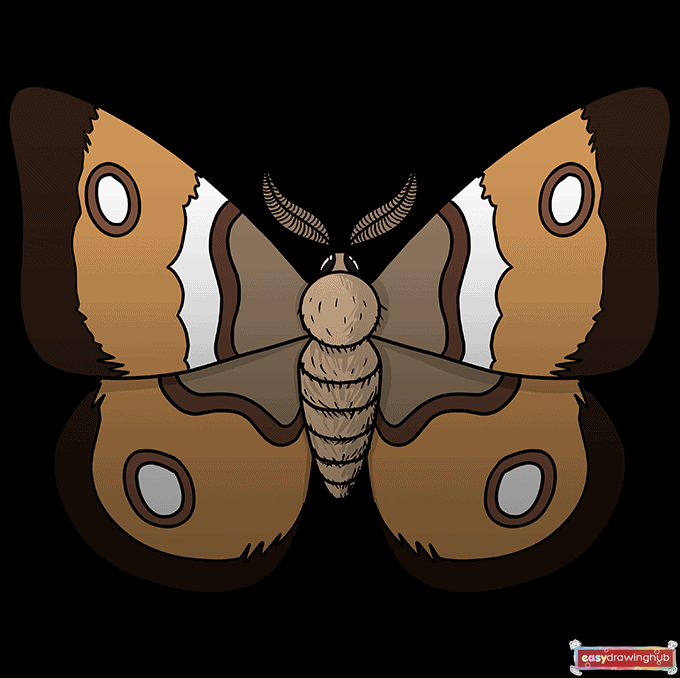
Color your cartoon moth. Moths like this one are often shaded in cream, white, brown, and dark red.
More Tutorials