How to Draw Pelé
Learn how to draw a great lookingPeléwith easy drawing instructions and video tutorial. By following the simple steps, you too can easily draw a perfect Pelé.
🎯 Final Result

Step-by-Step Instructions
Step 1

1. Draw two narrow lemon shapes in the center of the page. Add circles with small circles inside them, then sketch dashes and curves around the eyes.
Step 2
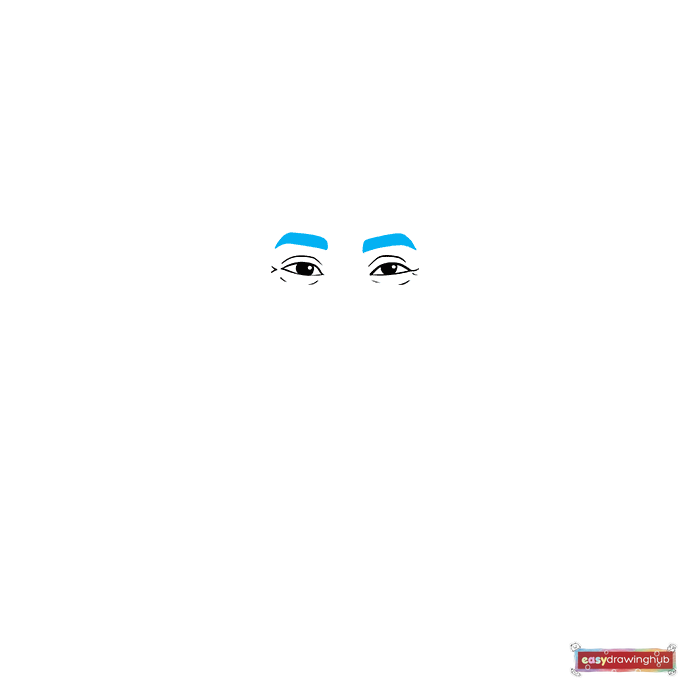
2. Use thick dashes for the eyebrows.
Step 3

3. For the nose, draw a rounded M-shape and frame it with two curves. Add dashes to the nose, then sketch curves between the eyes.
Step 4
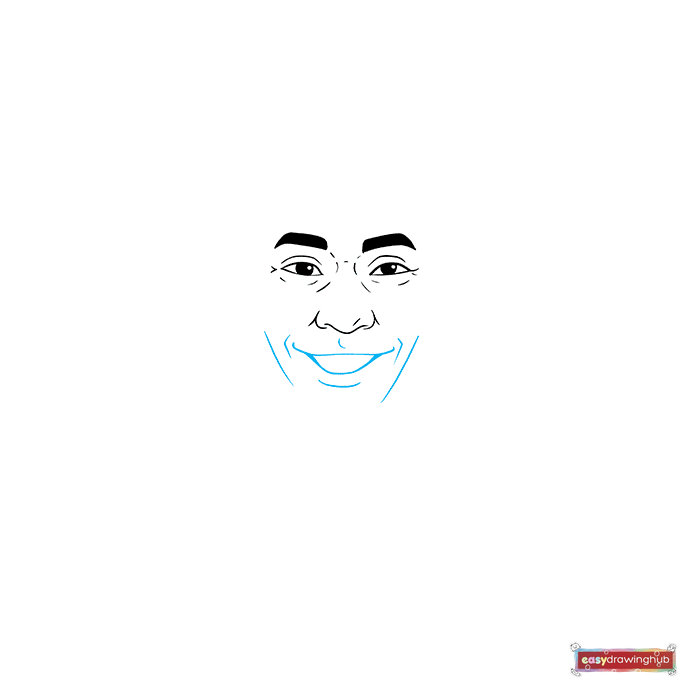
4. Draw a curved horizontal line beneath the nose. Add a wide U-shape underneath, and frame the mouth with more curves. Sketch diagonal lines on either side of the mouth.
Step 5
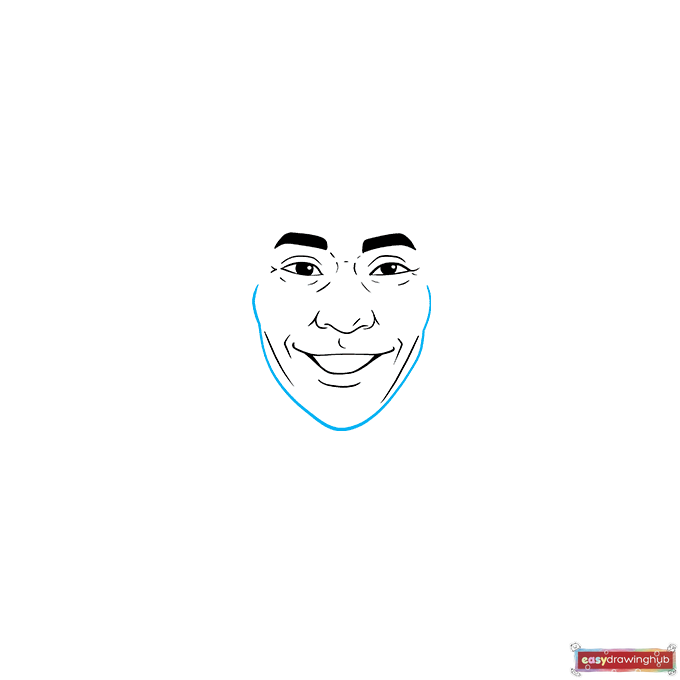
5. Outline the mouth with a V-shape. Add a curve on each side of the face.
Step 6
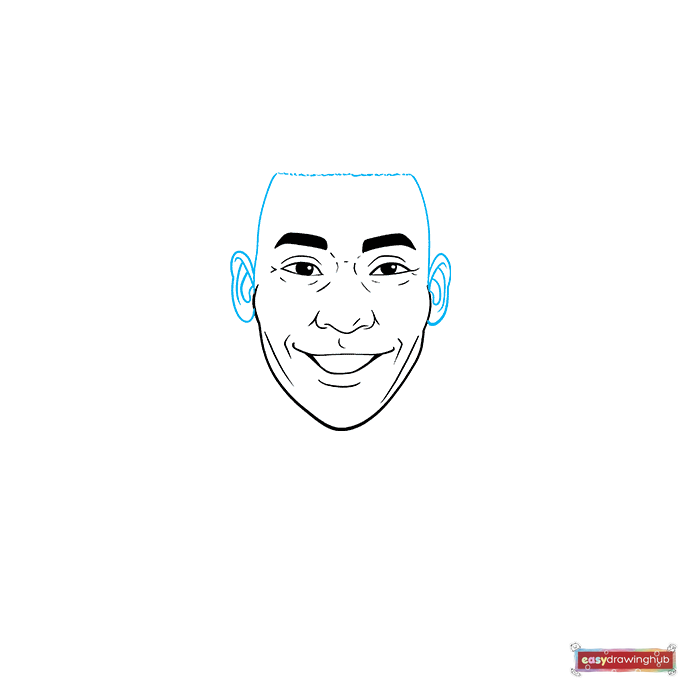
6. Draw two more vertical lines, then connect them with a line of tiny dashes. For each ear, sketch a wide heart shape and add curves inside.
Step 7
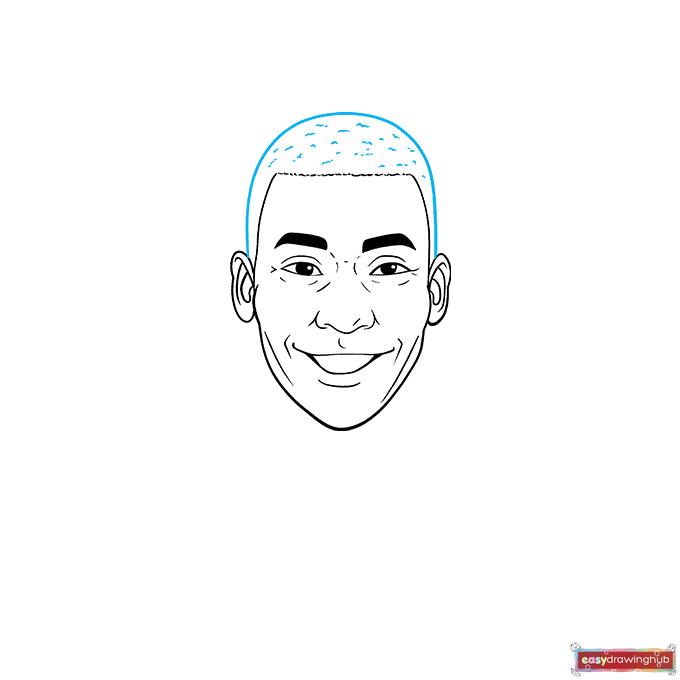
7. Draw a dome on top of the head. Add tiny hills inside the dome to give the hair texture.
Step 8
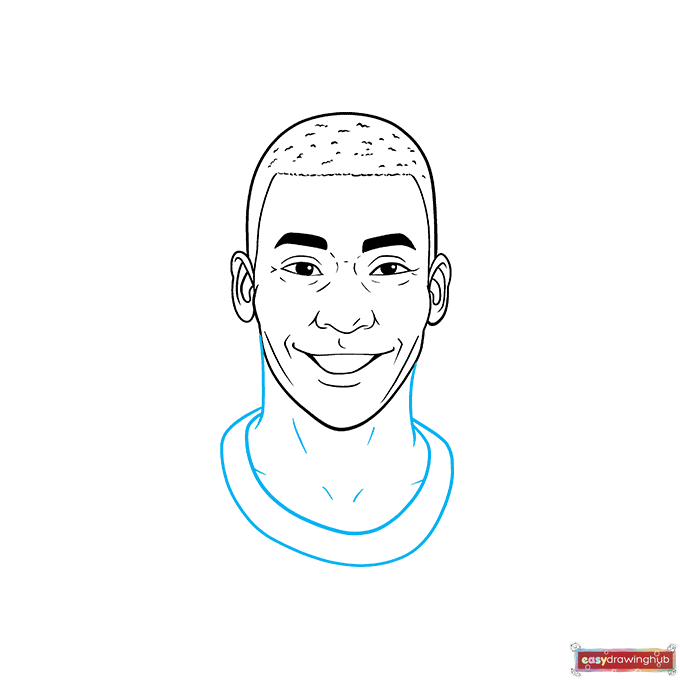
8. Use two vertical lines for the neck, then draw the collar with uneven semi-ovals that drape over the shoulders. Sketch lines inside the neck for added realism.
Step 9
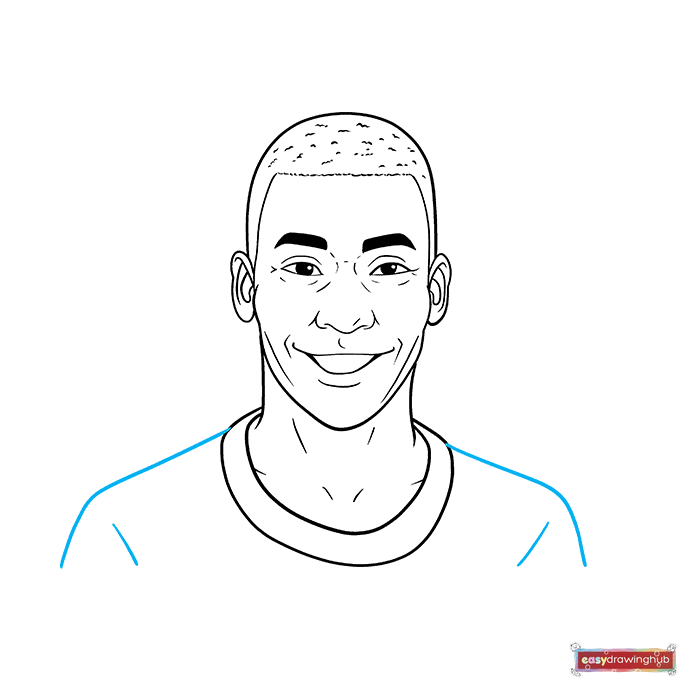
9. Add the shoulders with diagonal lines, and sketch shorter diagonal lines underneath.nnFinally, outline your easy Pelé drawing with a black pen or marker, filling in the eyebrows and pupils. Erase the pencil lines once the ink dries.
Step 10
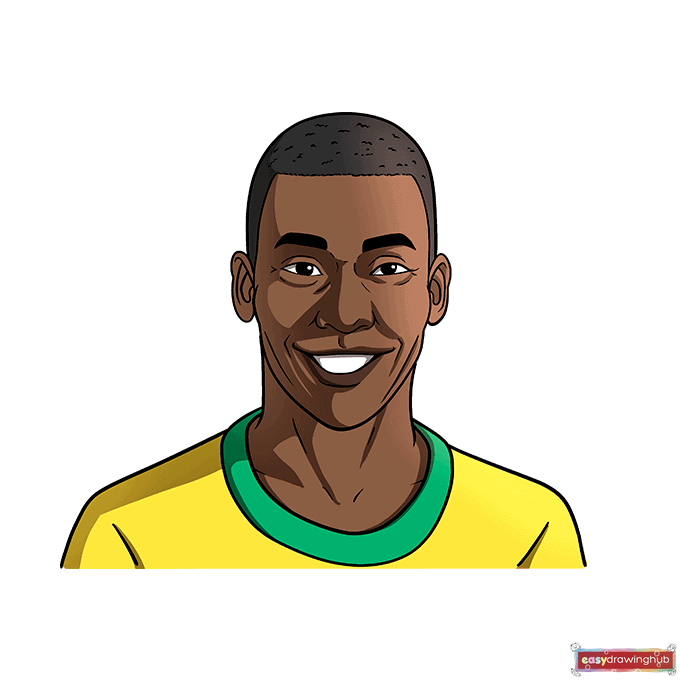
Color Pelé's skin dark brown, then make his hair black. Use green and yellow for the jersey. Add shadows on the left side and highlights on the right.
More Tutorials